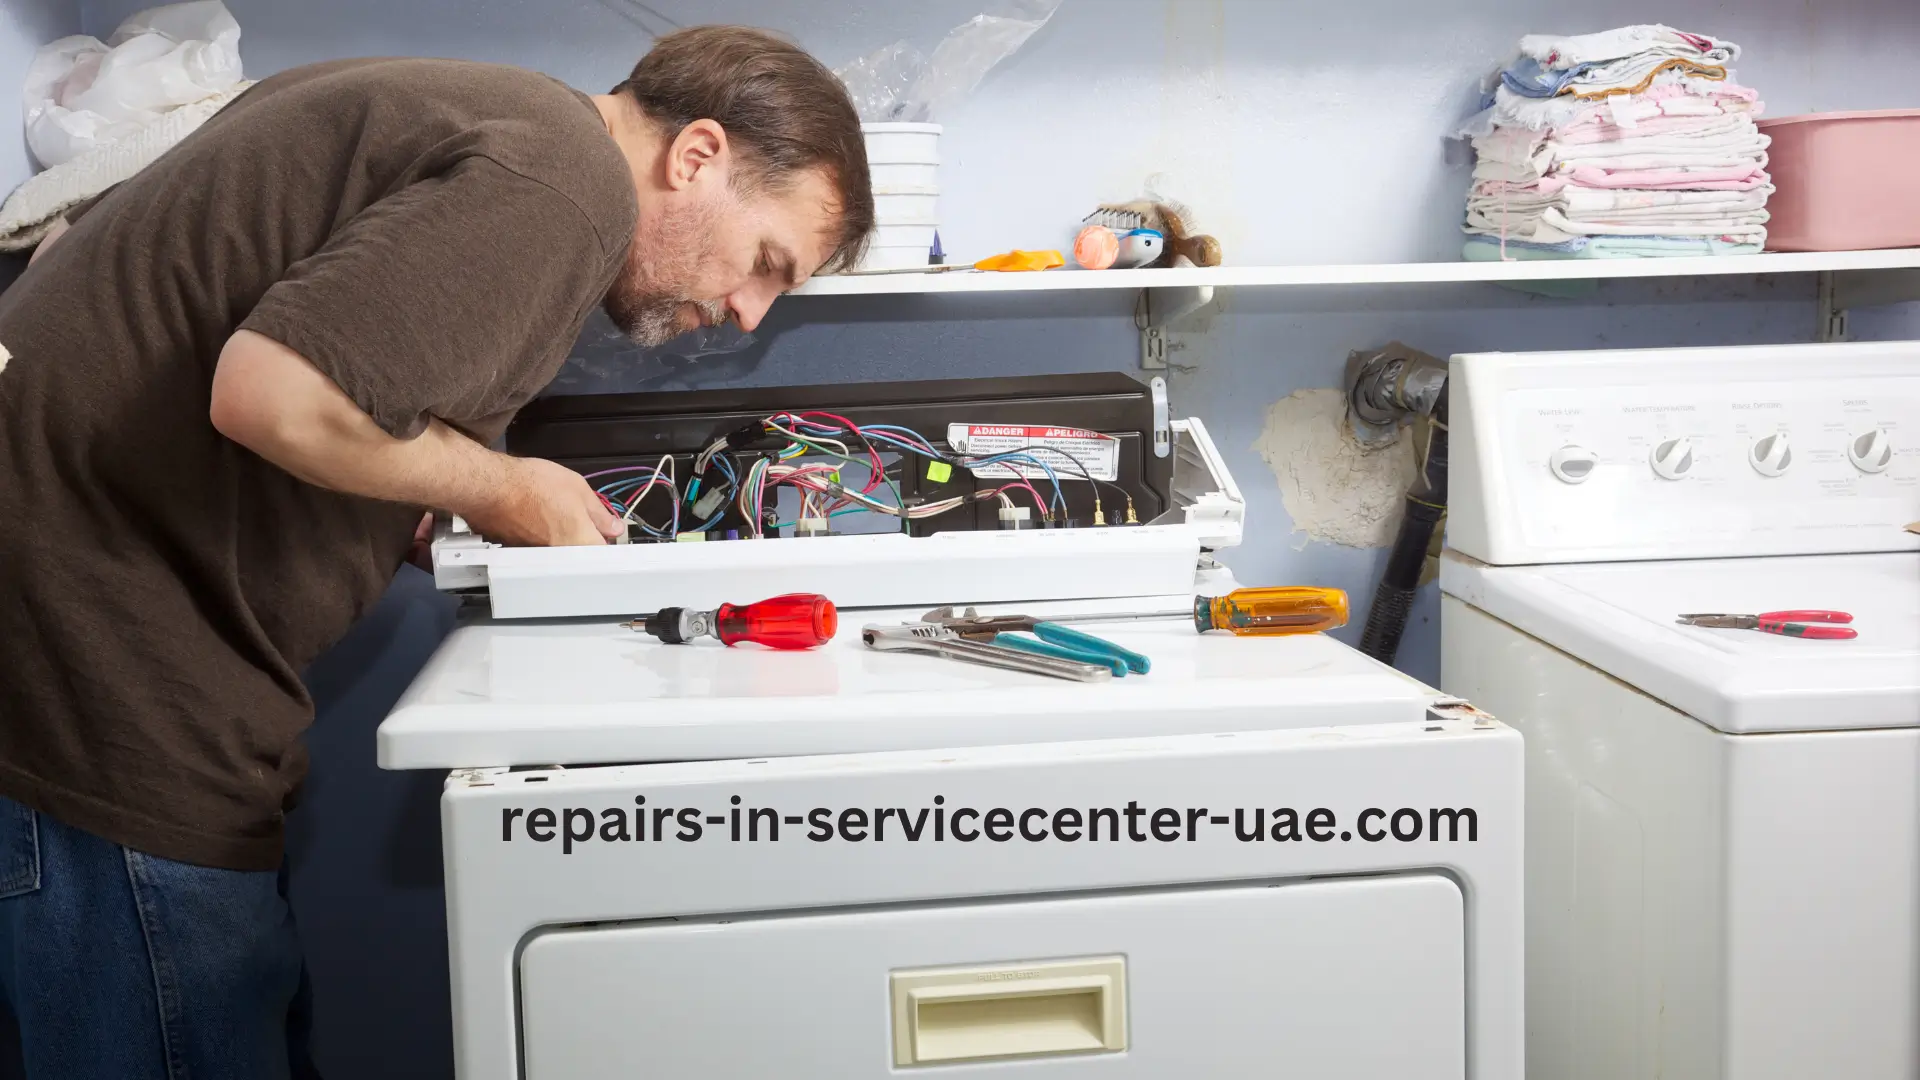
A faulty dryer thermostat can disrupt your laundry routine and leave you with a pile of damp clothes. The thermostat is a key part of your dryer, controlling the temperature inside the drum. If it’s not working correctly, your dryer might overheat, fail to heat, or even stop working altogether. Replacing it isn’t as complicated as you might think. In this post, we’ll guide you through the entire process step-by-step.
Contents
Understanding the Faulty Dryer Thermostat
Before diving into the replacement process, it’s important to understand what a dryer thermostat does and why it’s so crucial. The thermostat is responsible for regulating the temperature inside the dryer. It signals the dryer to turn the heating element on and off, ensuring that the clothes dry without overheating.
If you have a faulty dryer thermostat, you may notice several symptoms, such as:
- The dryer won’t heat up.
- The dryer overheats and shuts off prematurely.
- Clothes take too long to dry, or come out too hot.
When this happens, it’s a clear sign your thermostat has malfunctioned. Fortunately, replacing it can bring your dryer back to life.
Tools You’ll Need to Replace a Faulty Dryer Thermostat
Replacing a faulty dryer thermostat requires a few basic tools. Having everything ready before you start will make the process smoother. Here’s what you’ll need:
- A Phillips screwdriver
- A flathead screwdriver
- Needle-nose pliers
- Multimeter (optional, but useful for testing)
- A replacement thermostat (specific to your dryer model)
Make sure the dryer is unplugged before you start working on it to avoid any risk of electric shock. Now, let’s jump into the step-by-step guide to replace that faulty dryer thermostat.
Step 1: Locate the Faulty Dryer Thermostat
First things first, you need to locate the thermostat. It’s usually found inside the back panel of the dryer, close to the heating element. Here’s how to get there:
- Unplug the dryer: This is the most important step before you do anything. Safety first!
- Move the dryer away from the wall: Pull it out gently to give yourself enough space to work.
- Remove the back panel: Use the Phillips screwdriver to remove the screws holding the back panel in place. Once the screws are out, lift off the panel to reveal the dryer’s interior.
Once the back panel is off, you should see the heating element, wires, and other components. The thermostat is typically a small, round component with wires connected to it, usually located near the heating element.
Step 2: Remove the Faulty Dryer Thermostat
Now that you’ve located the faulty dryer thermostat, it’s time to remove it. Follow these steps carefully:
- Disconnect the wires: The thermostat will have a couple of wires attached to it. Take a photo of the wiring setup so you can easily reconnect them later. Use your needle-nose pliers to gently disconnect the wires.
- Unscrew the thermostat: The thermostat is usually held in place by screws. Use your screwdriver to remove them.
- Take out the thermostat: Once the screws are out, you can lift the faulty dryer thermostat out of its place.
Before moving on to the next step, you might want to test the thermostat using a multimeter to confirm that it’s actually faulty. If it shows no continuity, it’s definitely the culprit.
Step 3: Install the New Dryer Thermostat
With the faulty dryer thermostat removed, it’s time to install the new one. Make sure you have the right replacement part for your dryer model. Here’s what to do:
- Place the new thermostat: Position the new thermostat exactly where the old one was.
- Secure it with screws: Use your screwdriver to fasten the new thermostat into place.
- Reconnect the wires: Refer to the photo you took earlier and reconnect the wires to the new thermostat. Make sure they are firmly attached and match the previous setup.
Once you’ve securely connected everything, double-check that the thermostat is correctly installed and that the wires are properly connected.
Step 4: Reassemble the Dryer
Now that the new thermostat is in place, you need to put your dryer back together. Here’s how to do that:
- Reattach the back panel: Position the back panel and use your Phillips screwdriver to screw it back into place.
- Move the dryer back to its original position: Gently slide the dryer back against the wall.
- Plug it in: Once everything is back in place, plug the dryer back into the wall socket.
Step 5: Test the Dryer
Now for the moment of truth – testing your dryer! Turn it on and see if it heats up properly. Try running a load of clothes to check if they dry within a normal time frame. If everything works as expected, congratulations – you’ve successfully replaced a faulty dryer thermostat!
If the dryer is still not functioning as it should, the issue might be elsewhere, such as the heating element or thermal fuse. In that case, it’s worth consulting a professional.
Tips for Preventing a Faulty Dryer Thermostat in the Future
While replacing a faulty dryer thermostat is a manageable task, it’s always better to prevent the problem in the first place. Here are a few tips to keep your dryer thermostat in good working order:
- Clean the lint trap regularly: A clogged lint trap can cause the dryer to overheat, putting unnecessary strain on the thermostat.
- Check the exhaust vent: Make sure your dryer’s exhaust vent is clear. A blocked vent can lead to overheating, which could cause the thermostat to fail.
- Avoid overloading your dryer: Overloading puts extra stress on all parts of your dryer, including the thermostat. Stick to smaller, manageable loads.
- Perform regular maintenance: Keep your dryer in good condition by periodically inspecting the components and cleaning any built-up debris.
By following these tips, you can help extend the lifespan of your dryer and reduce the risk of future thermostat issues.
Common Questions About a Faulty Dryer Thermostat
1. How do I know if I have a faulty dryer thermostat?
Signs of a faulty dryer thermostat include the dryer not heating, overheating, or taking too long to dry clothes. If you’re experiencing these issues, it might be time to replace the thermostat.
2. Can I replace a faulty dryer thermostat myself?
Yes! With the right tools and this step-by-step guide, you can replace a faulty dryer thermostat on your own. However, if you’re uncomfortable with DIY repairs, consider calling a professional.
3. How much does it cost to replace a faulty dryer thermostat?
The cost of a replacement thermostat typically ranges from $10 to $30, depending on your dryer model. Hiring a professional to replace it can add labor costs, usually around $100 to $150.
4. How long does it take to replace a dryer thermostat?
If you’re familiar with the process, it should take about 30 to 60 minutes to replace a faulty dryer thermostat. For beginners, it might take a little longer, but with patience and attention to detail, it’s entirely doable.
When to Call a Professional
While replacing a faulty dryer thermostat is something many people can handle on their own, there are times when calling a professional is the best course of action. If you’re unsure of the diagnosis or uncomfortable working with electrical components, don’t hesitate to reach out to an appliance repair technician.
For professional help with your dryer or other appliance repairs, contact us at 0508700774. We’re here to help you get your appliances running smoothly again.
Conclusion
Dealing with a faulty dryer thermostat doesn’t have to be a nightmare. With the right tools, a bit of patience, and this step-by-step guide, you can easily replace it yourself and get your dryer back in working order. Regular maintenance and keeping an eye on potential issues can also help prevent future thermostat problems.
Need help or have more questions? Give us a call at 0508700774! We’re always happy to assist with appliance repairs and maintenance.


