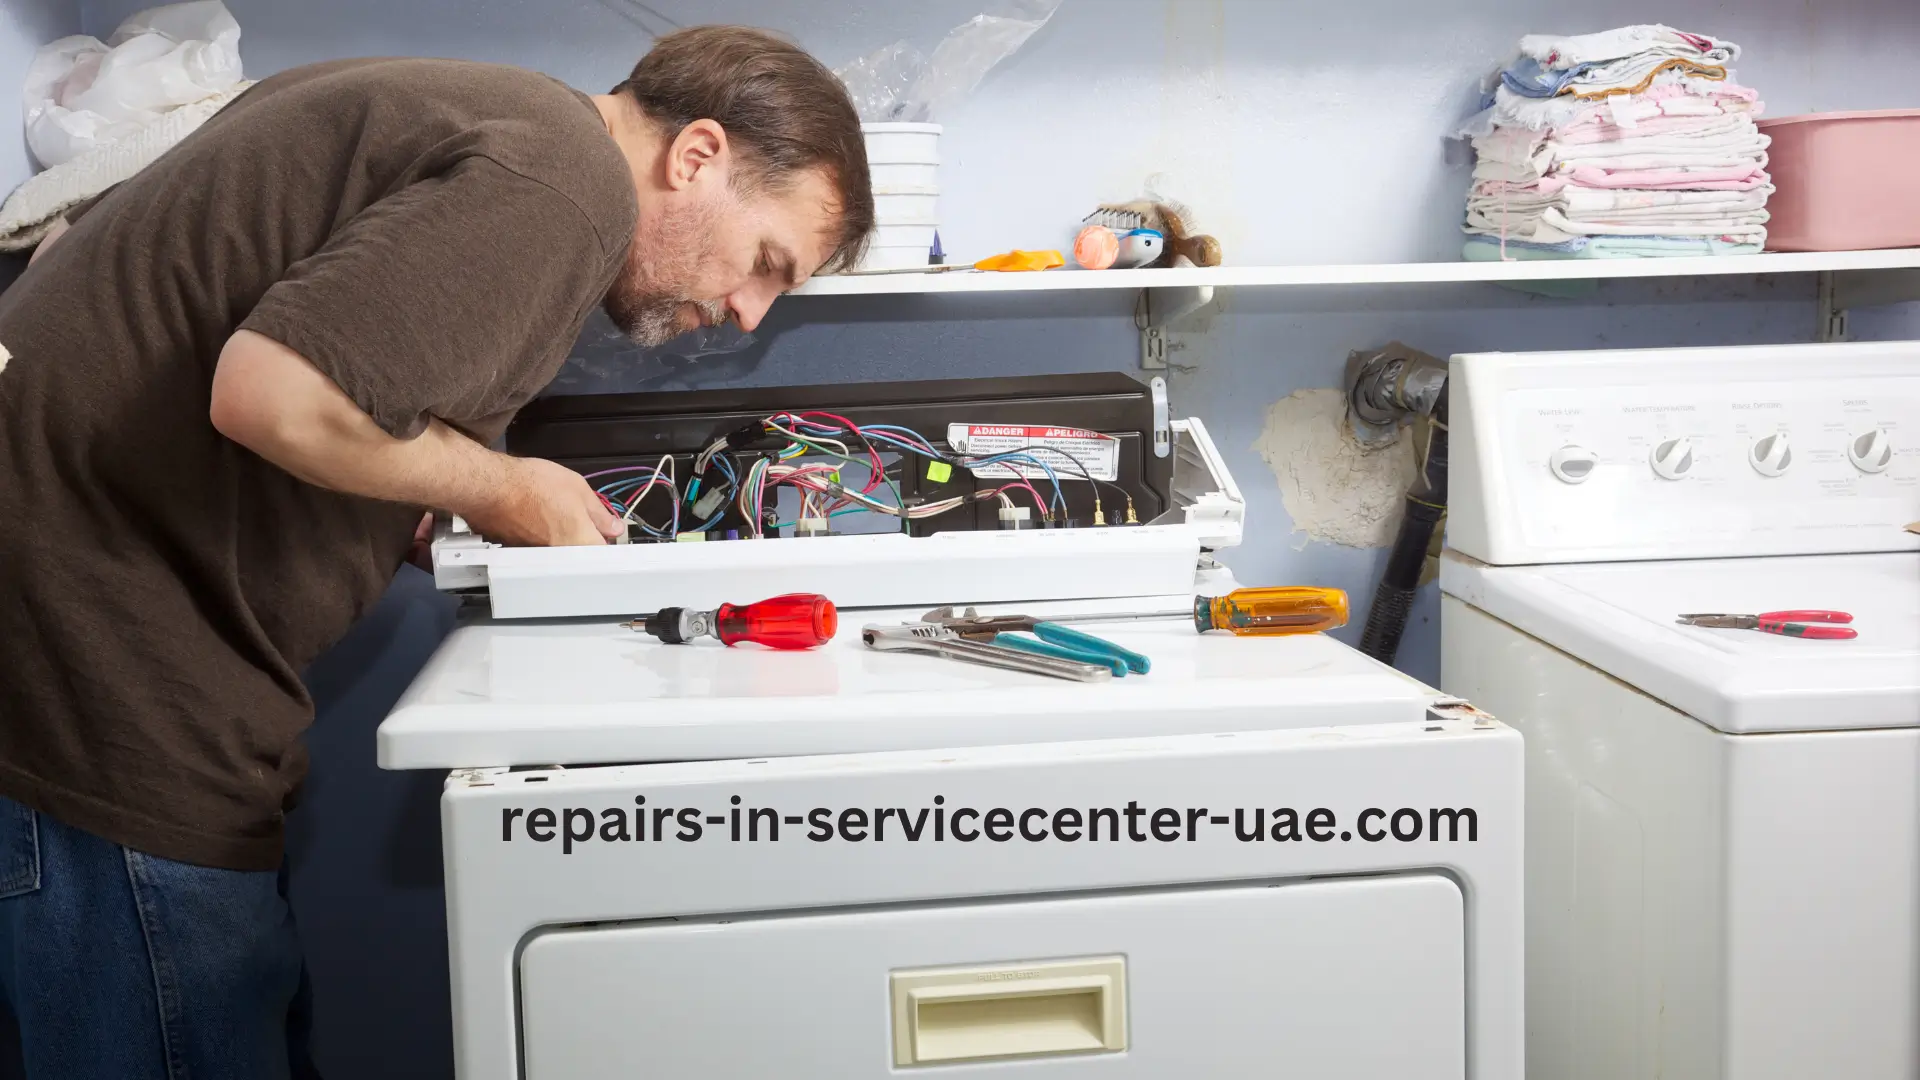
Is your dryer making strange noises, or perhaps it’s not spinning at all? You might be dealing with a faulty dryer motor. Replacing a dryer motor might sound like a daunting task, but with the right guidance, it’s something you can tackle yourself. In this guide, we’ll walk you through the process of replacing a faulty dryer motor, ensuring your appliance is up and running in no time. Let’s dive in!
Contents
- 1 Understanding the Signs of a Faulty Dryer Motor
- 2 Preparing to Replace the Faulty Dryer Motor
- 3 Step-by-Step Guide to Replacing a Faulty Dryer Motor
- 4 Testing Your Dryer After Replacing the Motor
- 5 When to Call a Professional
- 6 Maintaining Your Dryer Motor for Longevity
- 7 Conclusion: Replacing a Faulty Dryer Motor is Achievable
Understanding the Signs of a Faulty Dryer Motor
Before you jump into replacing the motor, it’s essential to confirm that the motor is indeed the problem. A faulty dryer motor can manifest in several ways. You might notice that your dryer isn’t turning on, or it’s making a loud humming noise without spinning the drum. In some cases, the drum might spin but stops abruptly, or the dryer might work intermittently.
Common signs of a faulty dryer motor include:
- Unusual Noises: A grinding or buzzing sound could indicate the motor is struggling or on its last legs.
- Drum Won’t Spin: If the drum isn’t spinning at all, the motor could be the culprit.
- Burning Smell: A burning smell could be a sign that the motor is overheating.
- Dryer Stops Mid-Cycle: If the dryer stops before completing the cycle, the motor might be failing.
Identifying these signs early can save you from further damage and expensive repairs. Once you’ve determined that the issue lies with the motor, it’s time to move on to the replacement process.
Preparing to Replace the Faulty Dryer Motor
Before diving into the replacement process, preparation is key. Replacing a faulty dryer motor requires a few essential tools and safety precautions. Here’s what you’ll need:
Tools Required:
- Screwdriver set (Phillips and flathead)
- Pliers
- Nut driver or socket wrench
- Multimeter (optional for testing electrical components)
- Replacement motor (specific to your dryer model)
Safety Precautions:
- Unplug the Dryer: Always disconnect the dryer from the power source before starting any repairs to avoid electrical shock.
- Wear Safety Gear: Use gloves and safety goggles to protect yourself from sharp edges and debris.
- Work in a Well-Lit Area: Make sure you have ample lighting to see what you’re doing.
Once you have your tools ready and safety precautions in place, you can begin the process of replacing the faulty dryer motor.
Step-by-Step Guide to Replacing a Faulty Dryer Motor
Now that you’re all set, let’s get to the heart of the matter—replacing that faulty dryer motor. Follow these steps carefully:
1. Disconnect and Disassemble the Dryer
First, unplug the dryer from the electrical outlet. If your dryer is connected to a gas line, shut off the gas supply as well. Next, remove the dryer’s lint screen and unscrew the screws that hold the lint trap housing in place.
Once the lint trap is out of the way, you can begin to remove the dryer’s top panel. Use a screwdriver to carefully lift and remove the top panel. Some models may have clips that need to be released before the panel comes off.
With the top panel removed, locate the screws that secure the front panel to the dryer cabinet. Remove these screws and gently lift the front panel off. Be cautious as the door switch wiring will still be attached. Disconnect the wires carefully and set the front panel aside.
2. Locate and Remove the Faulty Dryer Motor
With the dryer disassembled, you should now have a clear view of the drum and motor assembly. The motor is typically located near the base of the dryer. You’ll need to remove the drum belt to access the motor.
To do this, reach underneath the drum and locate the idler pulley, which maintains tension on the belt. Push the pulley to release the tension and slip the belt off the motor pulley.
Next, carefully remove the drum from the dryer cabinet. With the drum out of the way, you can now see the motor more clearly. Before removing the motor, take note of the wiring connections. It’s a good idea to take a picture or label the wires to ensure you reconnect them correctly later.
Using a nut driver or socket wrench, remove the screws or bolts securing the motor in place. Once the motor is free, carefully lift it out of the dryer.
3. Install the New Dryer Motor
Now that the faulty dryer motor is out, it’s time to install the new one. Start by positioning the new motor in the same spot as the old one. Align the mounting brackets and secure the motor with screws or bolts.
Reconnect the wiring to the new motor, following the labels or photo you took earlier. Make sure all connections are tight and secure.
With the motor in place, reinstall the drum by sliding it back into the dryer cabinet. Ensure the drum sits on the drum rollers and the rear bearing is properly seated.
4. Reassemble the Dryer
Once the drum is in place, loop the drum belt around the drum, motor pulley, and idler pulley. Push the idler pulley to add tension to the belt, ensuring it’s properly aligned.
Now, reattach the dryer’s front panel by reconnecting the door switch wiring and securing the panel with screws. Lower the top panel back onto the dryer and fasten it in place.
Replace the lint trap and screws, and your dryer is now reassembled.
Testing Your Dryer After Replacing the Motor
After reassembling the dryer, it’s time to test your work. Plug the dryer back into the electrical outlet (and reconnect the gas line if applicable). Turn the dryer on and run a test cycle.
Listen for any unusual noises and observe the drum’s rotation. If everything is functioning smoothly, congratulations! You’ve successfully replaced the faulty dryer motor.
However, if the dryer isn’t working as expected, double-check the motor wiring and ensure the belt is properly installed. In some cases, it might be worth consulting the dryer’s manual or contacting a professional for assistance.
When to Call a Professional
While replacing a faulty dryer motor can be a DIY task, there are situations where it’s best to call a professional. If you’re uncomfortable with electrical components, or if the dryer is still under warranty, it might be wiser to leave the repair to the experts.
Additionally, if you encounter any issues during the replacement process, such as difficulty removing parts or if the new motor doesn’t seem to fit, a professional can help avoid further damage.
For expert assistance, feel free to contact us at +971545356777. We’re here to help with all your dryer repair needs.
Maintaining Your Dryer Motor for Longevity
Now that your dryer is up and running again, it’s essential to maintain it to prevent future issues. Here are some tips to keep your dryer motor in good condition:
- Clean the Lint Trap Regularly: A clogged lint trap can cause the motor to overheat and fail prematurely. Clean the lint trap after every use.
- Inspect the Venting System: Ensure the dryer’s venting system is clear of obstructions. A blocked vent can cause the motor to overwork and eventually fail.
- Avoid Overloading the Dryer: Overloading puts extra strain on the motor and other components. Stick to the manufacturer’s recommended load size.
- Listen for Unusual Noises: Regularly check for any unusual noises or changes in performance. Addressing issues early can prevent major repairs later on.
By following these maintenance tips, you can extend the life of your dryer motor and avoid the hassle of another replacement.
Conclusion: Replacing a Faulty Dryer Motor is Achievable
Replacing a faulty dryer motor might seem intimidating at first, but with the right tools and guidance, it’s a task that many homeowners can handle themselves. By following the steps outlined in this guide, you can save money on repairs and keep your dryer running smoothly for years to come.
Remember, if you ever feel uncertain during the process, or if you’d rather leave it to the professionals, don’t hesitate to reach out for help. Contact us at +971545356777, and we’ll ensure your dryer is back in working order without the stress.
Keep this guide handy, and you’ll be prepared to tackle a faulty dryer motor with confidence!


