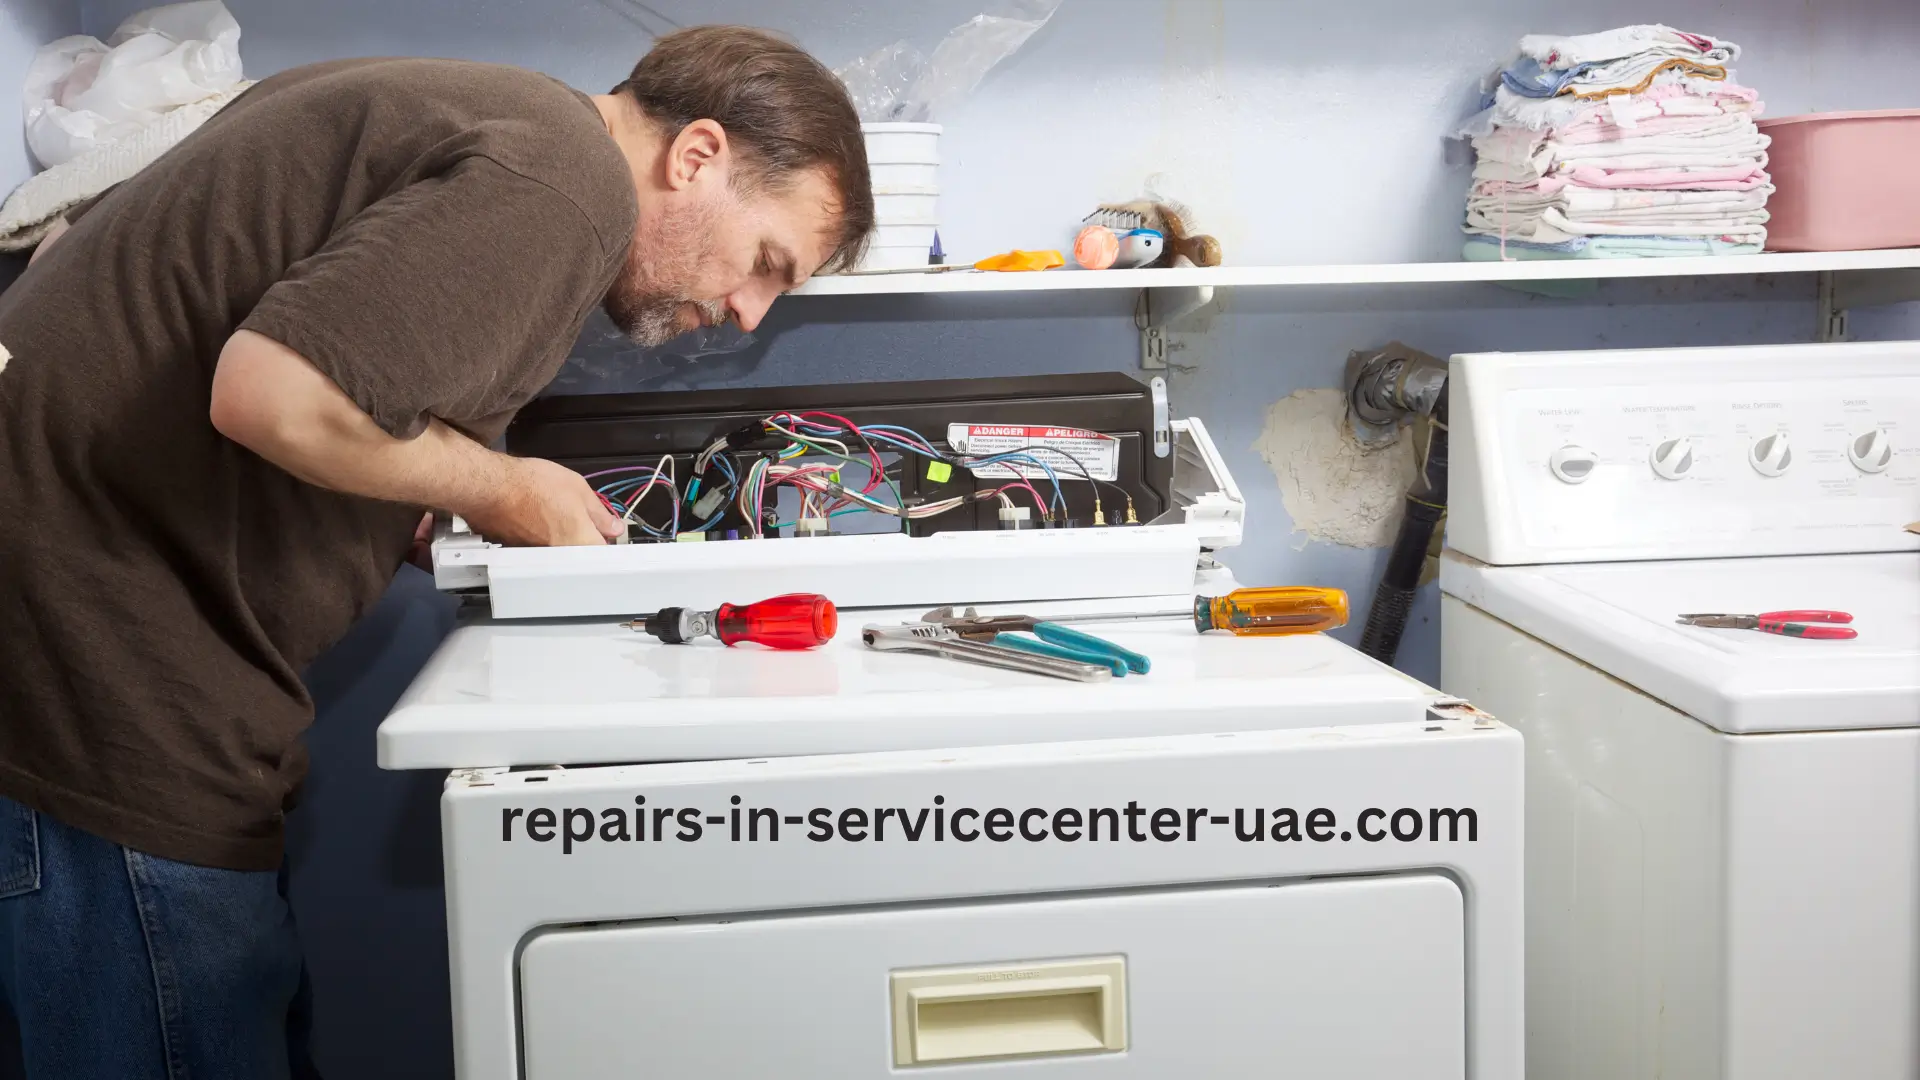
Dryers are essential appliances that make our lives easier by quickly drying our clothes. However, like any machine, they can experience issues over time. One common problem is a faulty dryer heating element. If your dryer isn’t heating properly, it might be time to replace the heating element. In this guide, we’ll walk you through the process of identifying the problem, gathering the necessary tools, and replacing the dryer heating element. Let’s dive in!
Contents
Understanding the Dryer Heating Element
The dryer heating element is the component responsible for generating heat in your dryer. This element consists of a coil made from a special alloy, which heats up when electricity flows through it. As the air passes over this coil, it warms up and dries your clothes. If the heating element malfunctions, your dryer may take longer to dry clothes or stop heating altogether.
Signs of a Faulty Dryer Heating Element:
- Clothes take longer than usual to dry.
- The dryer drum spins, but there’s no heat.
- The dryer shuts off prematurely.
- Clothes come out hot but not dry.
If you notice any of these signs, you might need to replace your dryer’s heating element.
Why Replace the Dryer Heating Element Yourself?
Replacing a dryer heating element can save you time and money. Calling a professional can be costly, and if you’re comfortable with basic tools, this task is something you can do yourself. Plus, doing it yourself allows you to learn more about how your appliance works, empowering you to handle minor repairs in the future.
Before starting, make sure to unplug your dryer from the power source and turn off the gas supply if you have a gas dryer. Safety first!
Tools and Materials You’ll Need
Before you begin replacing the dryer heating element, gather the following tools and materials:
- Screwdriver: A Phillips or flat-head screwdriver, depending on your dryer model.
- Multimeter: To test the heating element for continuity.
- Replacement Heating Element: Ensure it’s compatible with your dryer model.
- Needle-Nose Pliers: Helpful for disconnecting wires and removing components.
- Work Gloves: To protect your hands during the process.
- Vacuum Cleaner: To remove any lint or debris inside the dryer.
Once you have these tools ready, you’re all set to begin the replacement process.
Step-by-Step Guide to Replacing a Dryer Heating Element

Step 1: Disconnect the Power
First, unplug the dryer from the electrical outlet to ensure your safety. If you have a gas dryer, also turn off the gas supply to avoid any leaks.
Step 2: Access the Dryer Panel
Depending on your dryer model, you may need to remove the back panel, front panel, or top cover to access the heating element. Use your screwdriver to remove the screws securing the panel in place. Keep the screws in a safe place, as you’ll need them to reassemble the dryer.
Step 3: Locate the Heating Element
Once you’ve removed the panel, locate the heating element. It’s typically housed in a metal casing and connected to wires. Take note of how the wires are connected or take a picture for reference during reassembly.
Step 4: Test the Heating Element
Before removing the heating element, use a multimeter to test it for continuity. Set the multimeter to the “Ohms” setting and touch the probes to the heating element terminals. If the multimeter shows no continuity, the heating element is faulty and needs replacement.
Step 5: Remove the Faulty Heating Element
Use needle-nose pliers to disconnect the wires from the heating element terminals. Carefully remove any screws or fasteners securing the heating element in place. Once removed, take the faulty heating element out of the dryer.
Step 6: Install the New Heating Element
Position the new dryer heating element in the same place as the old one. Secure it with screws or fasteners, and reconnect the wires to the terminals. Ensure the connections are tight and secure.
Step 7: Reassemble the Dryer
Replace the dryer panel and secure it with the screws you removed earlier. Make sure everything is tightly fastened and aligned correctly.
Step 8: Test the Dryer
Plug the dryer back into the electrical outlet and, if applicable, turn on the gas supply. Run a test cycle to ensure the dryer heats properly and functions as expected.
Tips for Maintaining Your Dryer Heating Element
To extend the life of your new dryer heating element and keep your dryer running efficiently, consider these maintenance tips:
- Clean the Lint Filter: After every load, clean the lint filter to ensure proper airflow and prevent overheating.
- Check the Ventilation System: Regularly inspect the dryer vent and exhaust duct for lint buildup. Clean them annually to maintain optimal airflow.
- Avoid Overloading: Don’t overload your dryer, as this can strain the heating element and reduce its lifespan.
- Balance the Load: Distribute clothes evenly in the dryer to prevent excessive wear on the heating element.
- Schedule Routine Inspections: Periodically check your dryer’s components for signs of wear and tear, addressing issues promptly.
Frequently Asked Questions
1. How long does a dryer heating element last?
A dryer heating element typically lasts between 8 to 15 years, depending on usage and maintenance. Regular cleaning and avoiding overloading can extend its lifespan.
2. Can I use any heating element for my dryer?
No, it’s crucial to use a heating element compatible with your dryer model. Consult your dryer’s manual or contact the manufacturer for the correct part number.
3. Is it safe to replace a dryer heating element myself?
Yes, if you follow safety precautions and have the necessary tools, you can safely replace a dryer heating element yourself. Always unplug the dryer and turn off the gas supply before starting the repair.
4. What should I do if my dryer still doesn’t heat after replacing the element?
If your dryer still doesn’t heat after replacing the element, there might be an issue with other components, such as the thermostat, thermal fuse, or wiring. Consider consulting a professional technician for further diagnosis.
5. Can a faulty heating element cause a fire?
Yes, a faulty or overheating heating element can pose a fire hazard. If you notice any burning smells or unusual noises, stop using the dryer immediately and inspect the heating element.
Conclusion
Replacing a dryer heating element is a manageable task that can save you money and time. By following this guide, you can identify a faulty heating element, gather the necessary tools, and successfully replace it yourself. Remember to prioritize safety, unplug the dryer, and follow the steps carefully. Regular maintenance will keep your dryer running smoothly, ensuring your clothes come out perfectly dry every time.
If you have any questions or need further assistance, feel free to reach out to us at 0508700774. We’re here to help with all your dryer repair needs!


