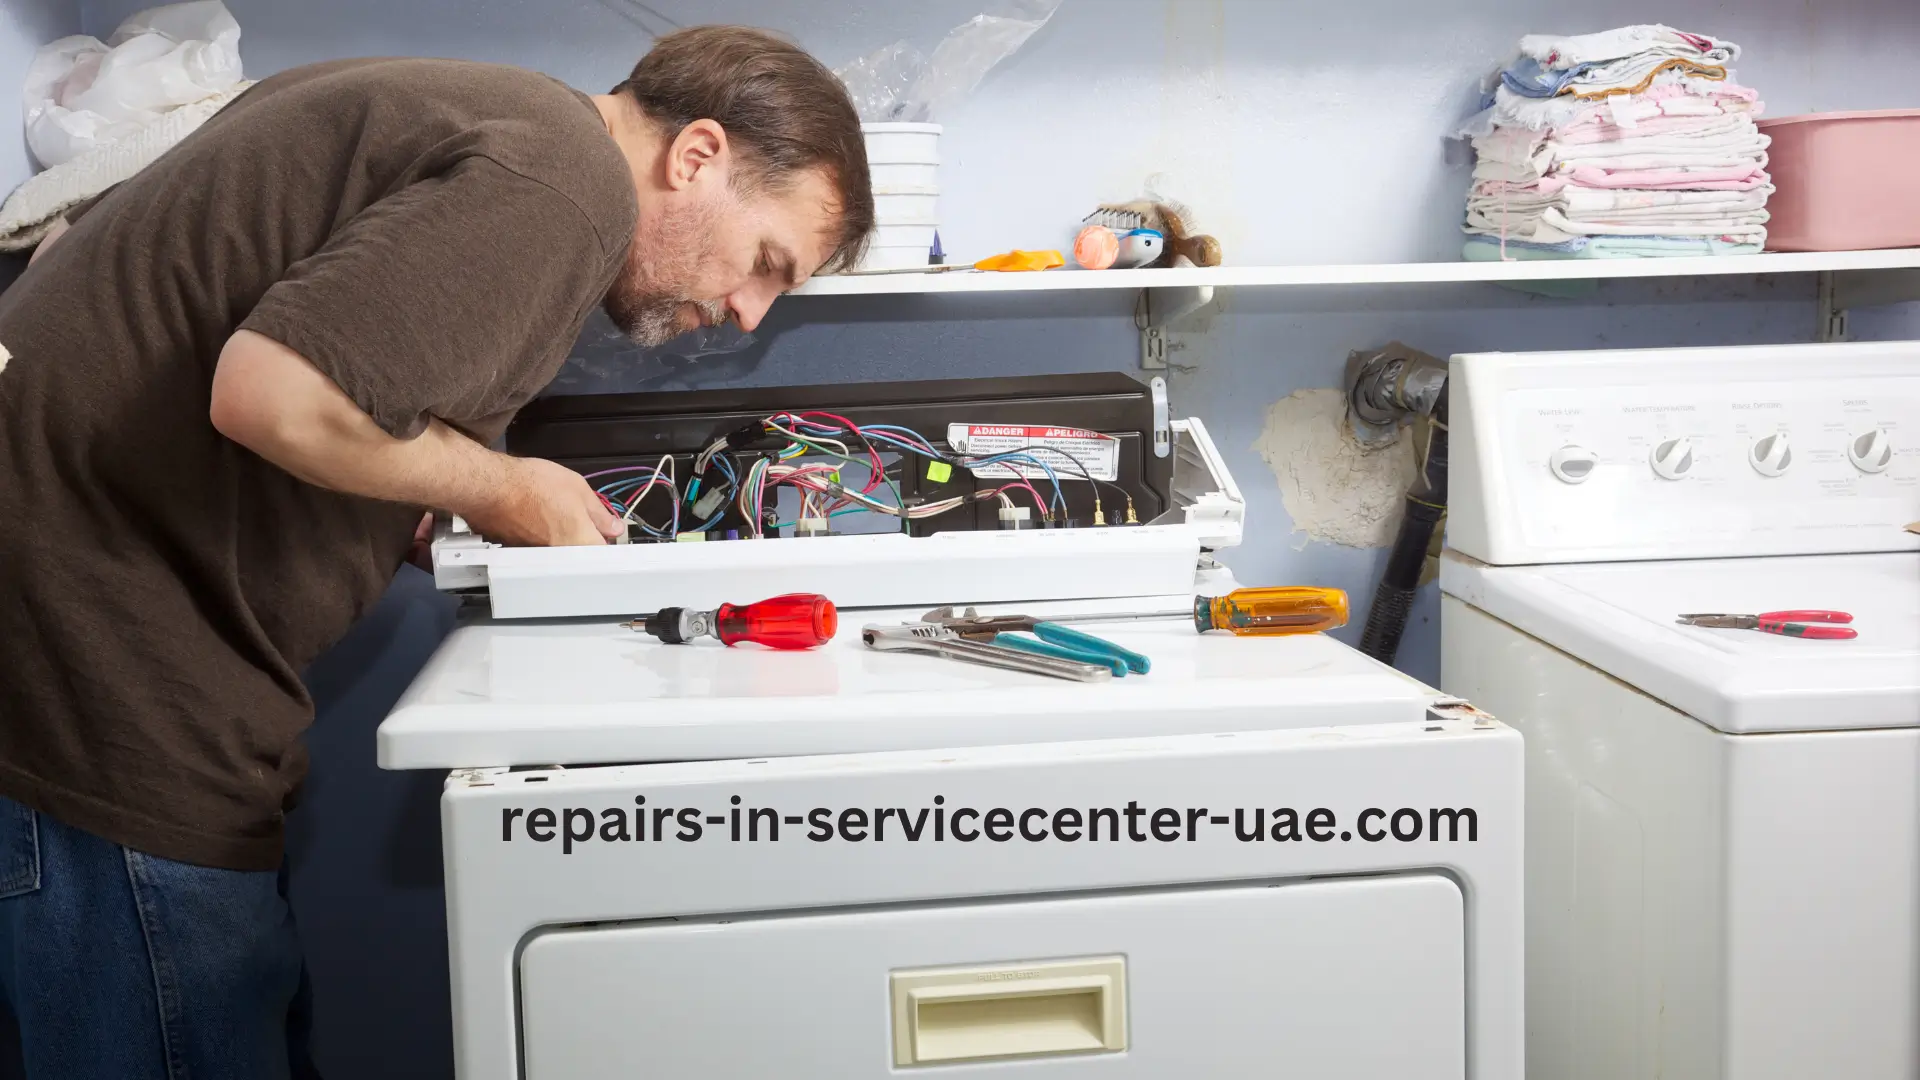
When your dryer stops spinning or making that comforting hum, it’s often a sign that something’s wrong with the dryer drum belt. The dryer drum belt is a vital part of your dryer that keeps the drum rotating during a cycle. If this belt snaps, the drum will stop moving, and your clothes will come out just as damp as they went in. In this post, we’ll walk you through how to replace a broken dryer drum belt, why it’s important, and some handy tips to ensure your dryer is up and running in no time.
Contents
Understanding the Importance of the Dryer Drum Belt
The dryer drum belt plays a critical role in how your dryer functions. It wraps around the drum and attaches to a motor pulley and an idler pulley. When the motor runs, it turns the belt, which then rotates the drum. Without this belt in place, the dryer drum won’t turn, and your clothes won’t dry properly. Simple as it seems, this small part is essential to your dryer’s performance.
When the dryer drum belt wears out, it can start to stretch, crack, or even break entirely. Some common signs that your dryer drum belt is damaged include:
- The dryer drum doesn’t turn at all.
- You hear unusual squeaking or thumping sounds.
- The dryer runs, but clothes stay wet or damp.
If you notice these signs, you’ll likely need to replace the belt. Don’t worry—it’s a fix that most homeowners can tackle themselves with a few basic tools and some patience.
Tools and Materials You’ll Need
Before diving into the actual replacement process, it’s important to gather all the tools and materials you’ll need for the job. Luckily, replacing a dryer drum belt doesn’t require any advanced skills or expensive tools. Here’s what you’ll need:
- New Dryer Drum Belt: Make sure it’s compatible with your dryer model. You can check your dryer’s manual or look for the model number online.
- Screwdriver: Typically, a Phillips head screwdriver works, but depending on your dryer model, you might need a flathead or a specialized tool.
- Pliers or Wrench: These will help loosen any tight screws or bolts.
- Putty Knife: This is optional but useful for popping open the top panel of the dryer.
- Vacuum Cleaner: While you’re in there, it’s a good idea to clean out any built-up lint.
Having everything ready will make the process smoother, and you won’t need to stop midway through the repair to search for a missing tool.
Step-by-Step Guide to Replacing a Dryer Drum Belt
Now that you have all your tools ready, it’s time to get started on the actual replacement process. Follow these steps to replace your broken dryer drum belt effectively.
1. Unplug the Dryer and Remove the Access Panel
Safety first! Always unplug the dryer before working on it to avoid electrical shocks. Once it’s unplugged, locate the access panel, typically found at the back or front of the dryer, depending on the model. Use your screwdriver or putty knife to remove the screws holding the panel in place. Set the screws aside safely, as you’ll need them later.
2. Locate the Dryer Drum Belt
Once you have the access panel removed, you’ll be able to see the inner workings of your dryer. Locate the dryer drum belt, which should be wrapped around the drum. If it’s broken or worn out, you’ll notice it hanging loose or completely disconnected.
3. Remove the Old Belt
Carefully slip the old dryer drum belt off the drum, motor pulley, and idler pulley. It might take a little maneuvering, but it should come off easily. Take this opportunity to clean out any dust, lint, or debris inside the dryer. A quick vacuum job will help prevent future problems and improve your dryer’s efficiency.
4. Install the New Dryer Drum Belt
Now, take the new dryer drum belt and loop it over the drum, following the same path as the old one. Make sure it fits snugly around the drum, motor pulley, and idler pulley. This step might require a bit of adjustment, but it’s important that the belt is correctly aligned.
5. Reassemble the Dryer
Once the new dryer drum belt is securely in place, reassemble the dryer by reattaching the access panel. Use the screws you set aside earlier to secure the panel back in place.
6. Test the Dryer
Plug the dryer back in and run a test cycle to ensure the drum spins correctly. If the dryer drum is turning smoothly and the dryer sounds normal, congratulations—you’ve successfully replaced the dryer drum belt!
Common Issues You Might Encounter
Even with the most detailed instructions, things don’t always go according to plan. Here are some common issues you might encounter when replacing a dryer drum belt and how to troubleshoot them:
1. The Dryer Drum Doesn’t Spin
If the drum still doesn’t spin after replacing the belt, double-check that the belt is correctly installed and tightly wrapped around the drum and pulleys. Ensure the belt hasn’t slipped off the motor pulley or idler pulley during reassembly.
2. The Dryer Makes Noise
If your dryer is making strange noises after the repair, it could be due to the belt not being seated properly on the pulleys. Disassemble the dryer again and check the alignment of the belt.
3. Dryer Overheating or Shutting Off
If the dryer starts to overheat or shuts off unexpectedly, there may be an issue with the motor or a clogged vent. While replacing the dryer drum belt, it’s always a good idea to check the vent system and clean out any lint or debris.
When to Call a Professional
While replacing a dryer drum belt is a fairly straightforward task for DIY enthusiasts, there are times when it’s better to call in a professional. If you’re uncomfortable working with electrical appliances, or if the repair seems more complicated than expected, it’s best to hire a technician. A professional can diagnose other potential issues and ensure your dryer is working safely and efficiently.
For professional help with replacing your dryer drum belt, don’t hesitate to contact us at +971545356777. Our skilled technicians are experienced in dryer repairs and can get your dryer up and running in no time.
Tips for Maintaining Your Dryer Drum Belt
Now that you’ve successfully replaced your dryer drum belt, you’ll want to keep it in good condition. Here are some tips for extending the life of your dryer and its belt:
- Clean the Lint Filter Regularly: A clogged lint filter can cause your dryer to overheat and put extra strain on the drum belt.
- Avoid Overloading the Dryer: Heavy loads can stress the drum belt and cause it to wear out faster.
- Inspect the Belt Periodically: Every few months, check the condition of the dryer drum belt to catch any signs of wear before it breaks.
Conclusion
Replacing a broken dryer drum belt is a manageable DIY task that can save you time and money. With the right tools, a bit of patience, and our step-by-step guide, you can get your dryer spinning again in no time. Whether you’re a seasoned DIYer or a beginner, this guide provides everything you need to know to replace your dryer drum belt safely and effectively.
For those who prefer a professional touch, our team is just a phone call away at +971545356777. We’re here to help with any dryer repair needs and ensure your appliance is running smoothly for years to come.


