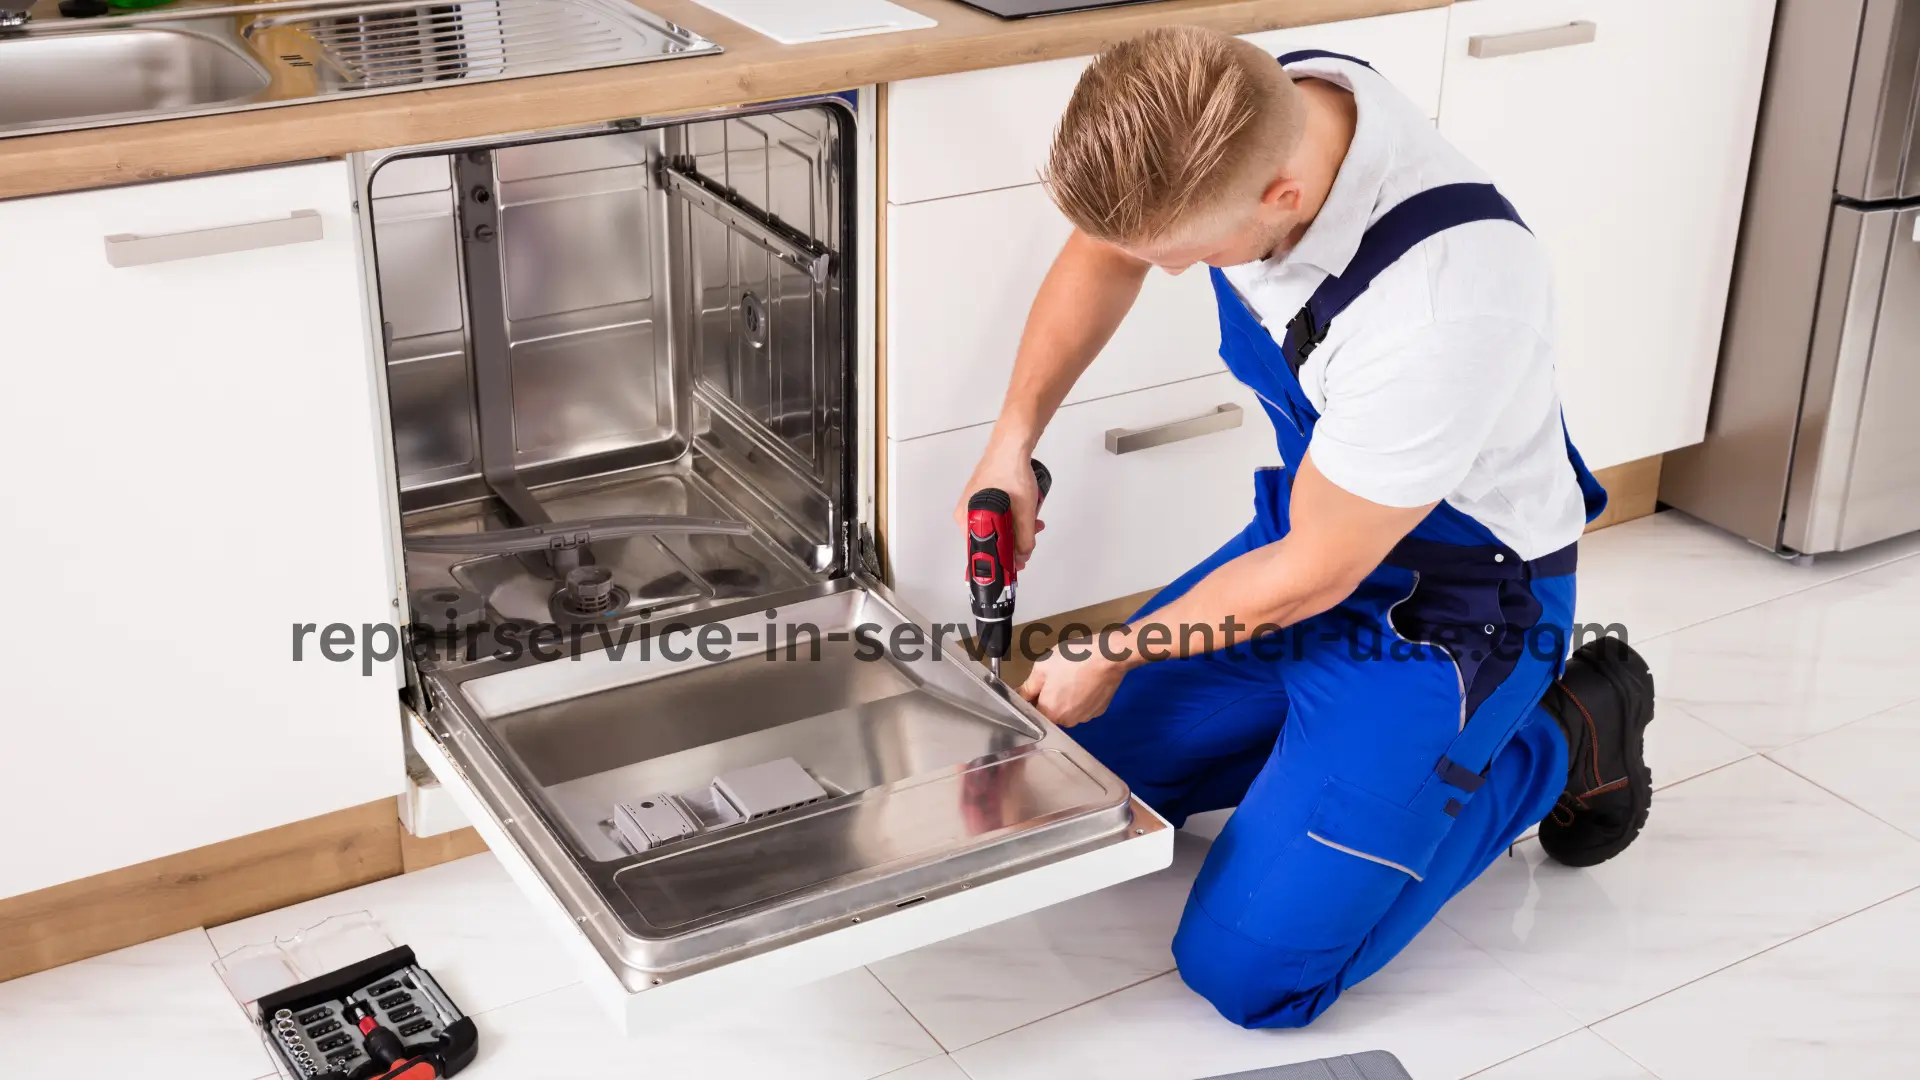
Has your dishwasher been leaking water lately? This might be a sign that the dishwasher door seal has worn out. Over time, door seals can become cracked or brittle, causing leaks and inefficiency in your appliance. Luckily, replacing a dishwasher door seal isn’t as difficult as it may seem. With just a few tools and some guidance, you can handle this task yourself and have your dishwasher back in action, leak-free.
In this guide, we’ll walk you through the steps on how to replace a dishwasher door seal properly, saving you time and money. Plus, you’ll avoid the frustration of dealing with a malfunctioning appliance! Call us at 0508700774 if you need professional help, but if you’re ready to get hands-on, keep reading to learn how to fix that dishwasher door seal like a pro.
Contents
What is a Dishwasher Door Seal, and Why is it Important?
A dishwasher door seal (also known as a gasket) is a flexible rubber strip that lines the edges of your dishwasher door. It creates a tight, waterproof seal between the door and the body of the dishwasher, preventing water from leaking out during cycles. Without this seal, your kitchen floor could quickly become a puddle-filled disaster.
This seemingly small part plays a vital role in your dishwasher’s efficiency. A faulty dishwasher door seal can lead to:
- Water leaks during washing cycles
- Poor cleaning performance due to compromised water pressure
- Energy waste, as your dishwasher may not heat water properly
It’s easy to overlook the significance of a dishwasher door seal until something goes wrong. Regularly inspecting the seal for wear and tear can help extend the life of your appliance and prevent avoidable repairs. If you notice cracks, splits, or mold buildup, it’s time to replace it.
Tools You’ll Need to Replace a Dishwasher Door Seal
Before diving into the actual process, gather all the tools and materials required. Having everything within reach will make the job smoother and quicker. Here’s what you’ll need to replace your dishwasher door seal:
- Replacement dishwasher door seal (make sure it matches your dishwasher model)
- Phillips head screwdriver
- Flathead screwdriver (optional)
- A bucket or towel (in case of water spillage)
- Warm, soapy water or a cleaning solution
- Soft cloth or sponge for cleaning
- Silicone lubricant (optional, for easier installation)
Once you’ve collected these items, you’ll be ready to get started with the actual replacement.
Step 1: Turn Off the Power and Water Supply
Safety first! Before attempting to replace the dishwasher door seal, ensure the power is disconnected. Locate your dishwasher’s circuit breaker in the electrical panel and switch it off. Additionally, turn off the water supply to prevent any unexpected spills.
Once you’ve done that, open the dishwasher door and allow any remaining water to drain. It’s always a good idea to place a towel or bucket underneath the appliance to catch any residual water.
Step 2: Remove the Old Dishwasher Door Seal
Now that your dishwasher is safe to work on, it’s time to remove the old dishwasher door seal. Here’s how:
- Locate the old seal: Open the dishwasher door and inspect the perimeter where the door meets the body of the machine. The dishwasher door seal is typically located in a groove running along the top and sides of the door.
- Pull out the old seal: Gently pull the old seal out of the groove. It should come out easily, but if it’s stuck, use a flathead screwdriver to carefully pry it out. Be cautious not to damage the groove, as you’ll be installing the new seal in the same spot.
- Clean the area: After removing the old dishwasher door seal, clean the groove thoroughly. Use warm, soapy water or a cleaning solution to remove any gunk, mold, or debris that may have accumulated over time. A clean surface ensures that the new seal will fit properly and form a tight, leak-proof barrier.
Step 3: Install the New Dishwasher Door Seal
With the old seal removed and the area cleaned, it’s time to install the new dishwasher door seal. Follow these steps carefully:
- Align the new seal: Take your replacement dishwasher door seal and inspect it closely. You’ll notice that it has a specific shape to fit into the groove. Start at the top center of the door, which will make it easier to work your way down both sides.
- Press the seal into place: Slowly press the new seal into the groove, ensuring that it fits snugly along the entire perimeter. You may need to apply a bit of force, but be careful not to stretch the seal too much. If you find it difficult to push in, a silicone lubricant can help make the process smoother.
- Test for proper fit: Once the seal is in place, close the dishwasher door to test its fit. The door should close firmly and evenly. If the seal feels loose or uneven, adjust it by pressing it more securely into the groove.
- Final inspection: After ensuring the new seal is in place, check for any gaps or areas where it might not be sitting correctly. It’s important that the dishwasher door seal forms a complete seal to prevent leaks.
Step 4: Reconnect Power and Water, Then Test the Dishwasher
Now that the new dishwasher door seal is securely in place, it’s time to test your work.
- Reconnect the power and water: Turn the power back on by flipping the circuit breaker, and reconnect the water supply to the dishwasher.
- Run a test cycle: Close the dishwasher door and run a short cycle. Monitor the dishwasher closely during the cycle, paying particular attention to any leaks around the door. If there are no leaks and the door closes smoothly, you’ve successfully replaced the dishwasher door seal!
Maintenance Tips to Extend the Life of Your Dishwasher Door Seal
Now that you’ve replaced the dishwasher door seal, it’s important to maintain it properly to extend its life and keep your appliance running smoothly. Here are a few maintenance tips:
- Regularly clean the seal: Wipe down the dishwasher door seal with a damp cloth every week to remove dirt, food debris, and soap scum. This will prevent buildup that can lead to mold and mildew.
- Inspect for wear and tear: Keep an eye on the condition of the seal. If you notice any cracks, tears, or signs of deterioration, it may be time to replace the seal again.
- Avoid harsh chemicals: When cleaning the seal, avoid using harsh chemicals that could degrade the rubber. Instead, use mild, soapy water or a vinegar solution for gentle cleaning.
- Check for proper alignment: Periodically check that the door is closing properly and that the seal remains snug in the groove. A properly aligned door ensures a strong, water-tight seal.
Taking these small steps can prevent future leaks and help your dishwasher last for years to come.
When to Call a Professional
While replacing a dishwasher door seal is generally a straightforward task, there are times when it’s best to call in a professional. If you’ve followed the steps above and still experience leaks or difficulty closing the door, it could indicate a more serious issue with your dishwasher’s door alignment or internal components.
In such cases, feel free to contact us at 0508700774 for expert assistance. Our team can quickly diagnose and fix any issues, ensuring your dishwasher runs smoothly without any hassle.
Conclusion
Replacing a dishwasher door seal is a simple DIY task that can save you time, money, and a big mess in your kitchen. By following the steps outlined in this guide, you can easily restore your dishwasher’s efficiency and prevent any water damage from occurring.
Remember, the key to a successful replacement is ensuring that the new dishwasher door seal is properly installed and maintained. Whether you’re fixing it yourself or reaching out for professional help, keeping this small but crucial component in top shape will extend the life of your dishwasher.
Don’t hesitate to call us at 0508700774 if you need any further assistance or have questions about maintaining your dishwasher. Happy fixing!


