How to Replace a Dryer Door Seal: A Step-by-Step Guide
If your dryer isn’t working as efficiently as it used to, or if you notice warm air escaping from the door, it might be time to replace the dryer door seal. The door seal, also known as the door gasket, plays a crucial role in keeping the heat inside the dryer, ensuring your clothes dry […]
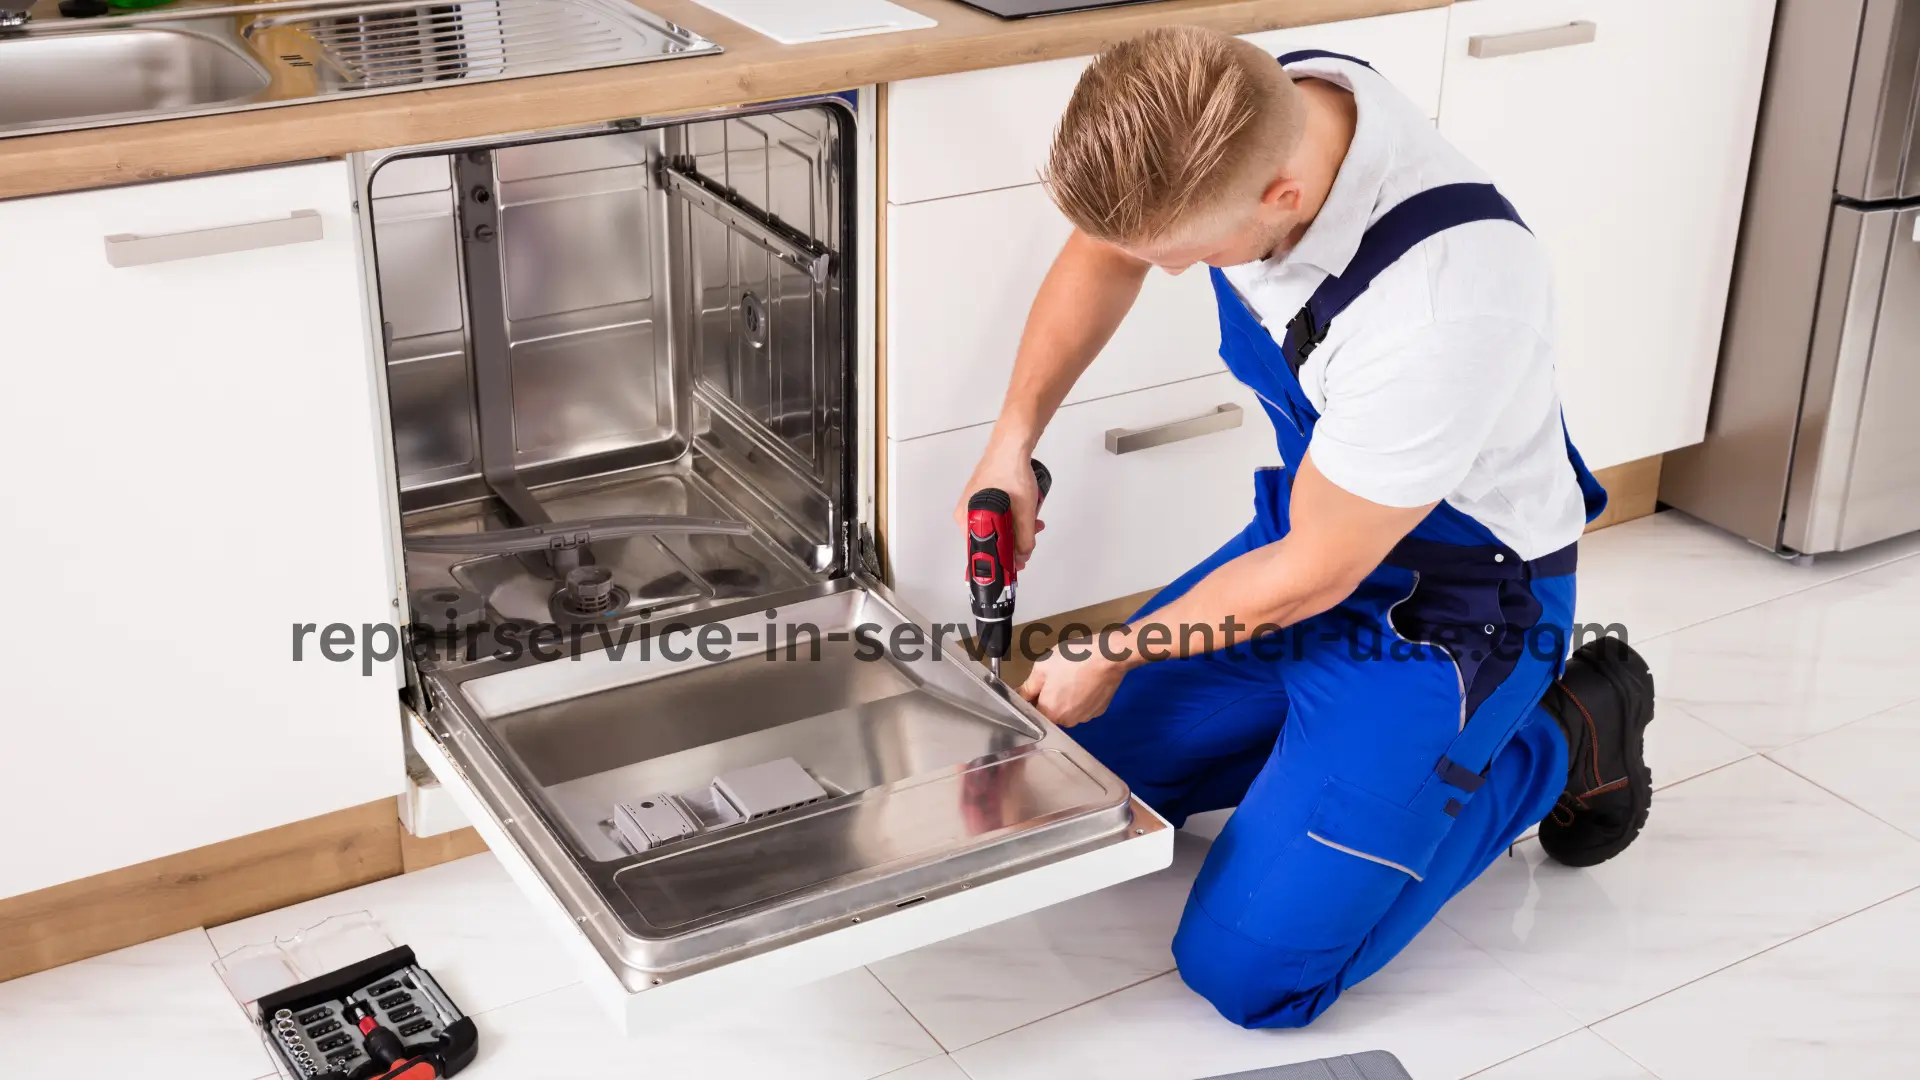
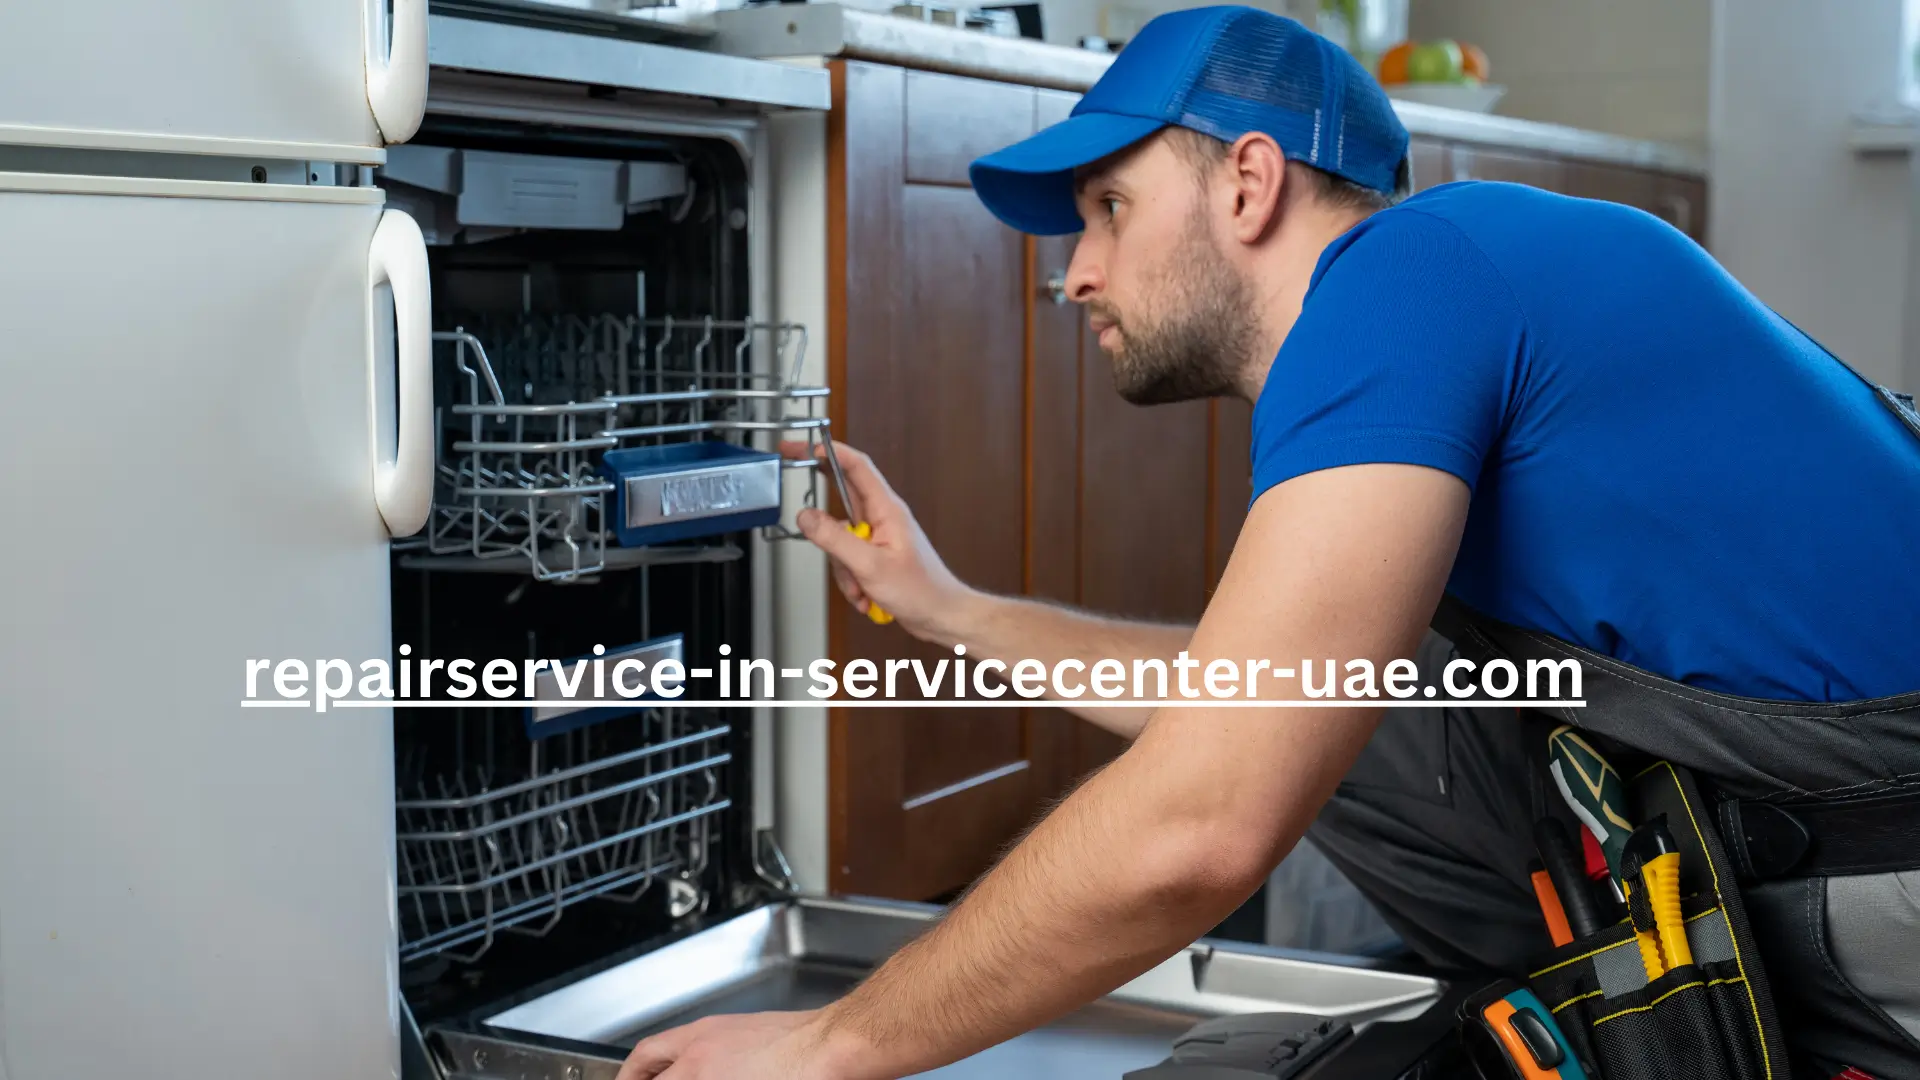
The Best Tools for Dishwasher Repair

Dishwashers have become an essential part of modern kitchens, saving time and effort while ensuring your dishes are spotlessly clean. However, like any other appliance, dishwashers can develop issues over time. Whether it’s a clogged drain, a faulty motor, or a leaky hose, having the right tools for dishwasher repair can make the process smoother […]
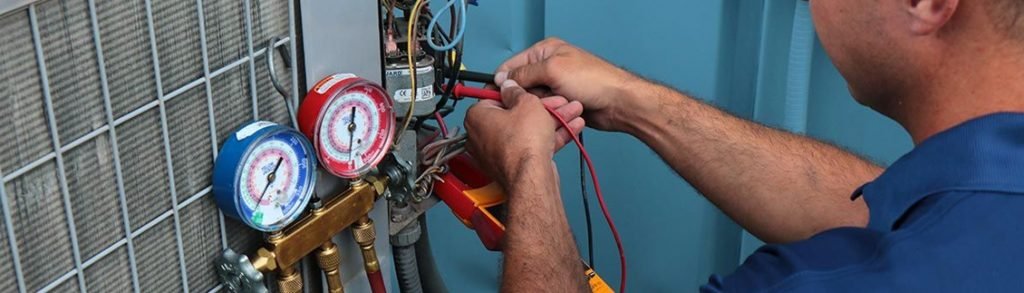
Understanding Refrigerator Compressor Issues: What You Need to Know

When your refrigerator stops working efficiently, the compressor is often the first thing to check. Refrigerator compressor issues can cause a variety of problems, from excessive noise to complete cooling failure. In this comprehensive guide, we’ll explore the common issues with refrigerator compressors, how to diagnose them, and what steps to take for repair or […]
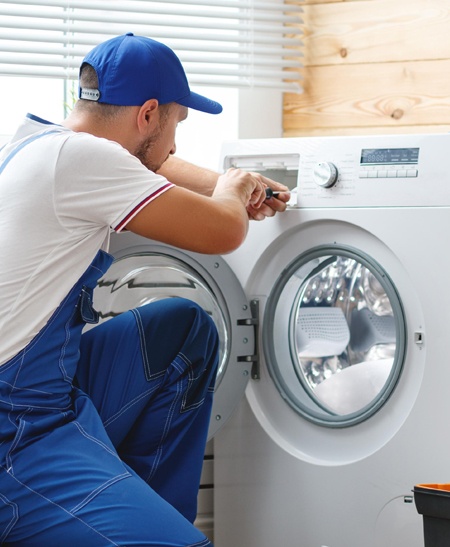
How to Clean a Washing Machine Filter: A Step-by-Step Guide
Washing Machine Filter maintenance is often overlooked, but it’s essential for keeping your washing machine in top shape. Over time, dirt, lint, and debris can build up, causing your washing machine to work less efficiently. Cleaning the filter not only ensures the machine functions properly, but it also extends its lifespan, reduces the risk of […]
How to Replace a Faulty Dryer Thermostat: Step-by-Step Guide
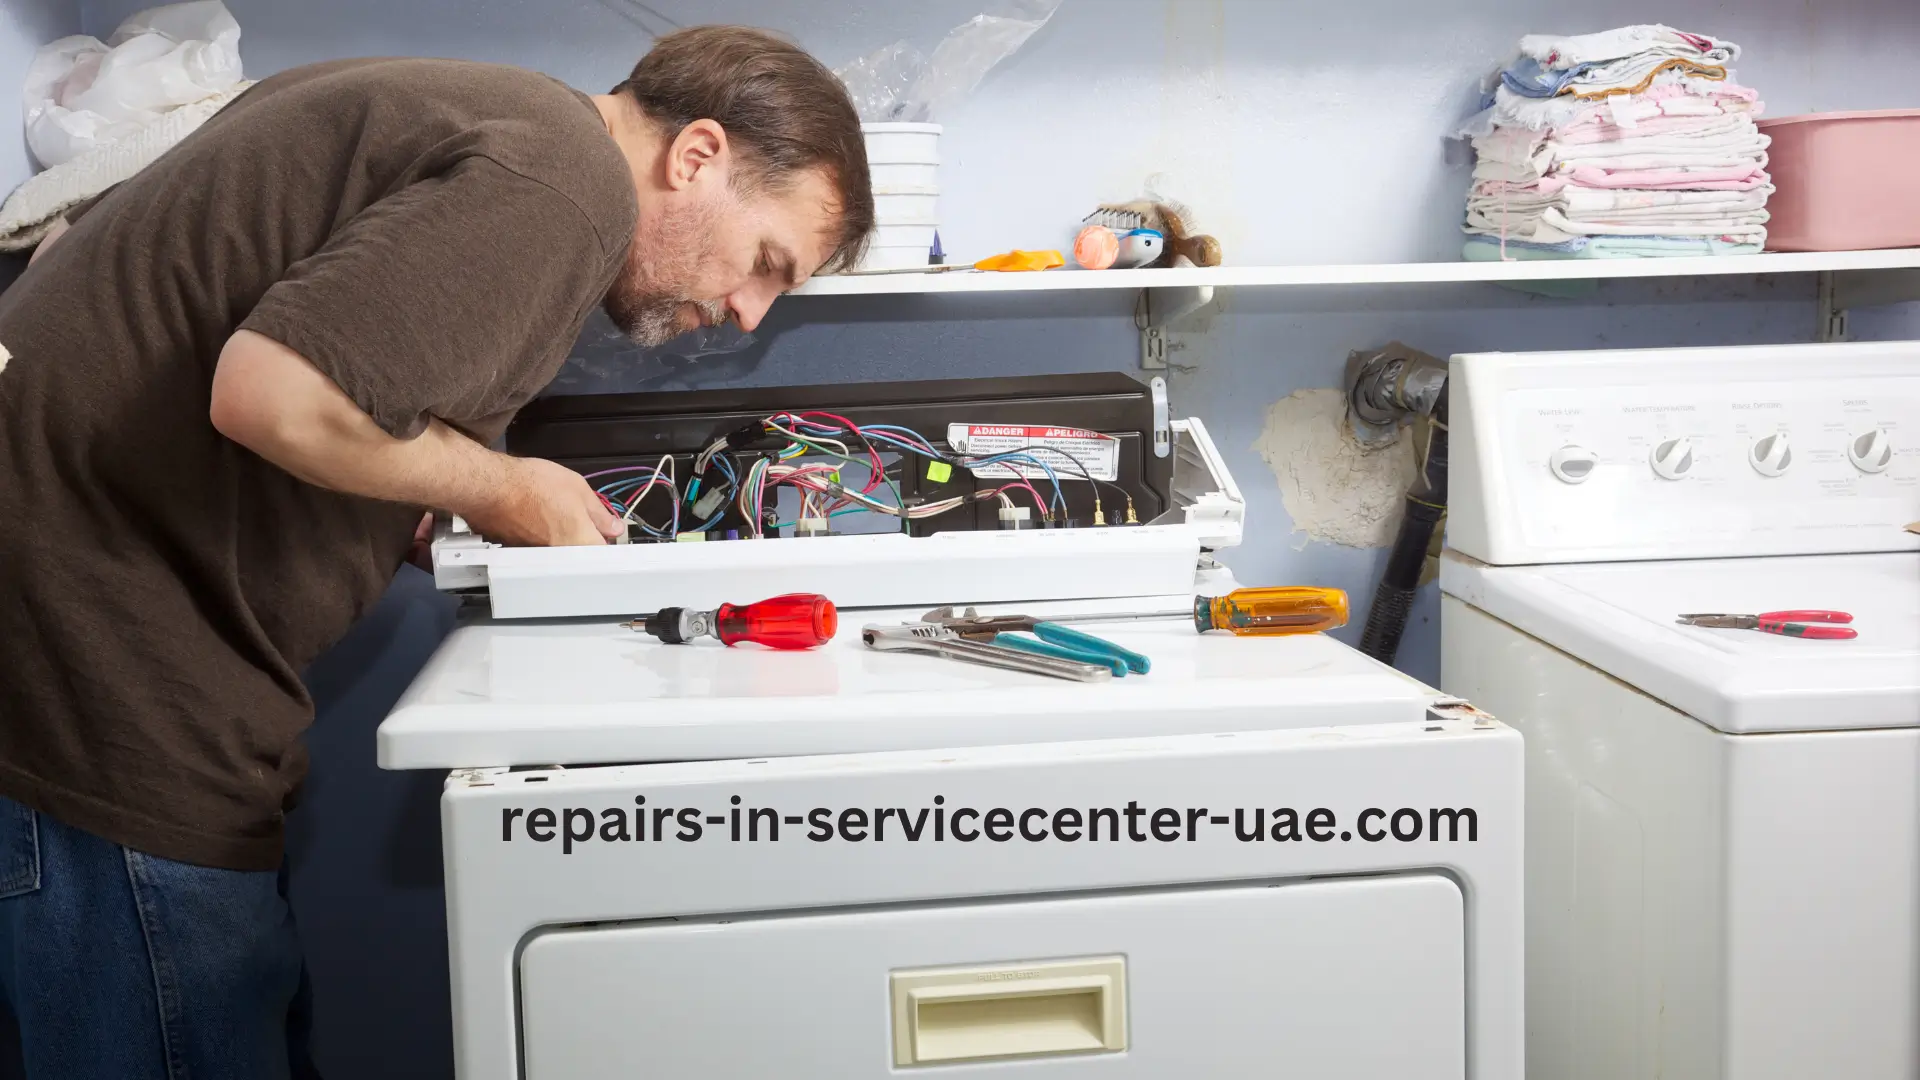
A faulty dryer thermostat can disrupt your laundry routine and leave you with a pile of damp clothes. The thermostat is a key part of your dryer, controlling the temperature inside the drum. If it’s not working correctly, your dryer might overheat, fail to heat, or even stop working altogether. Replacing it isn’t as complicated […]
How to Replace a Dishwasher Door Seal: A Step-by-Step Guide
Has your dishwasher been leaking water lately? This might be a sign that the dishwasher door seal has worn out. Over time, door seals can become cracked or brittle, causing leaks and inefficiency in your appliance. Luckily, replacing a dishwasher door seal isn’t as difficult as it may seem. With just a few tools and […]
How to Balance a Washing Machine: The Ultimate Guide
A washing machine is an essential appliance in any household, but when it starts wobbling and making loud noises, it can quickly turn from a helpful device into a source of frustration. If you’ve ever been annoyed by the constant rattling or worried that your washing machine might walk across the laundry room, you’re not […]
How to Repair a Broken Ice Maker: A Step-by-Step Guide
If you’re tired of reaching for ice cubes and finding an empty tray, you’re not alone. A broken ice maker can be a major inconvenience, especially when you rely on it to keep your drinks chilled. The good news? You don’t always have to call in a professional right away. With a bit of patience […]
Guide to Replacing a Dryer Drum Roller: Step-by-Step Instructions
If your dryer has started making strange noises or isn’t spinning as smoothly as it used to, the culprit might be a worn-out dryer drum roller. This essential component helps the drum rotate smoothly, and when it fails, it can lead to several problems. But don’t worry! Replacing a dryer drum roller isn’t as complicated […]
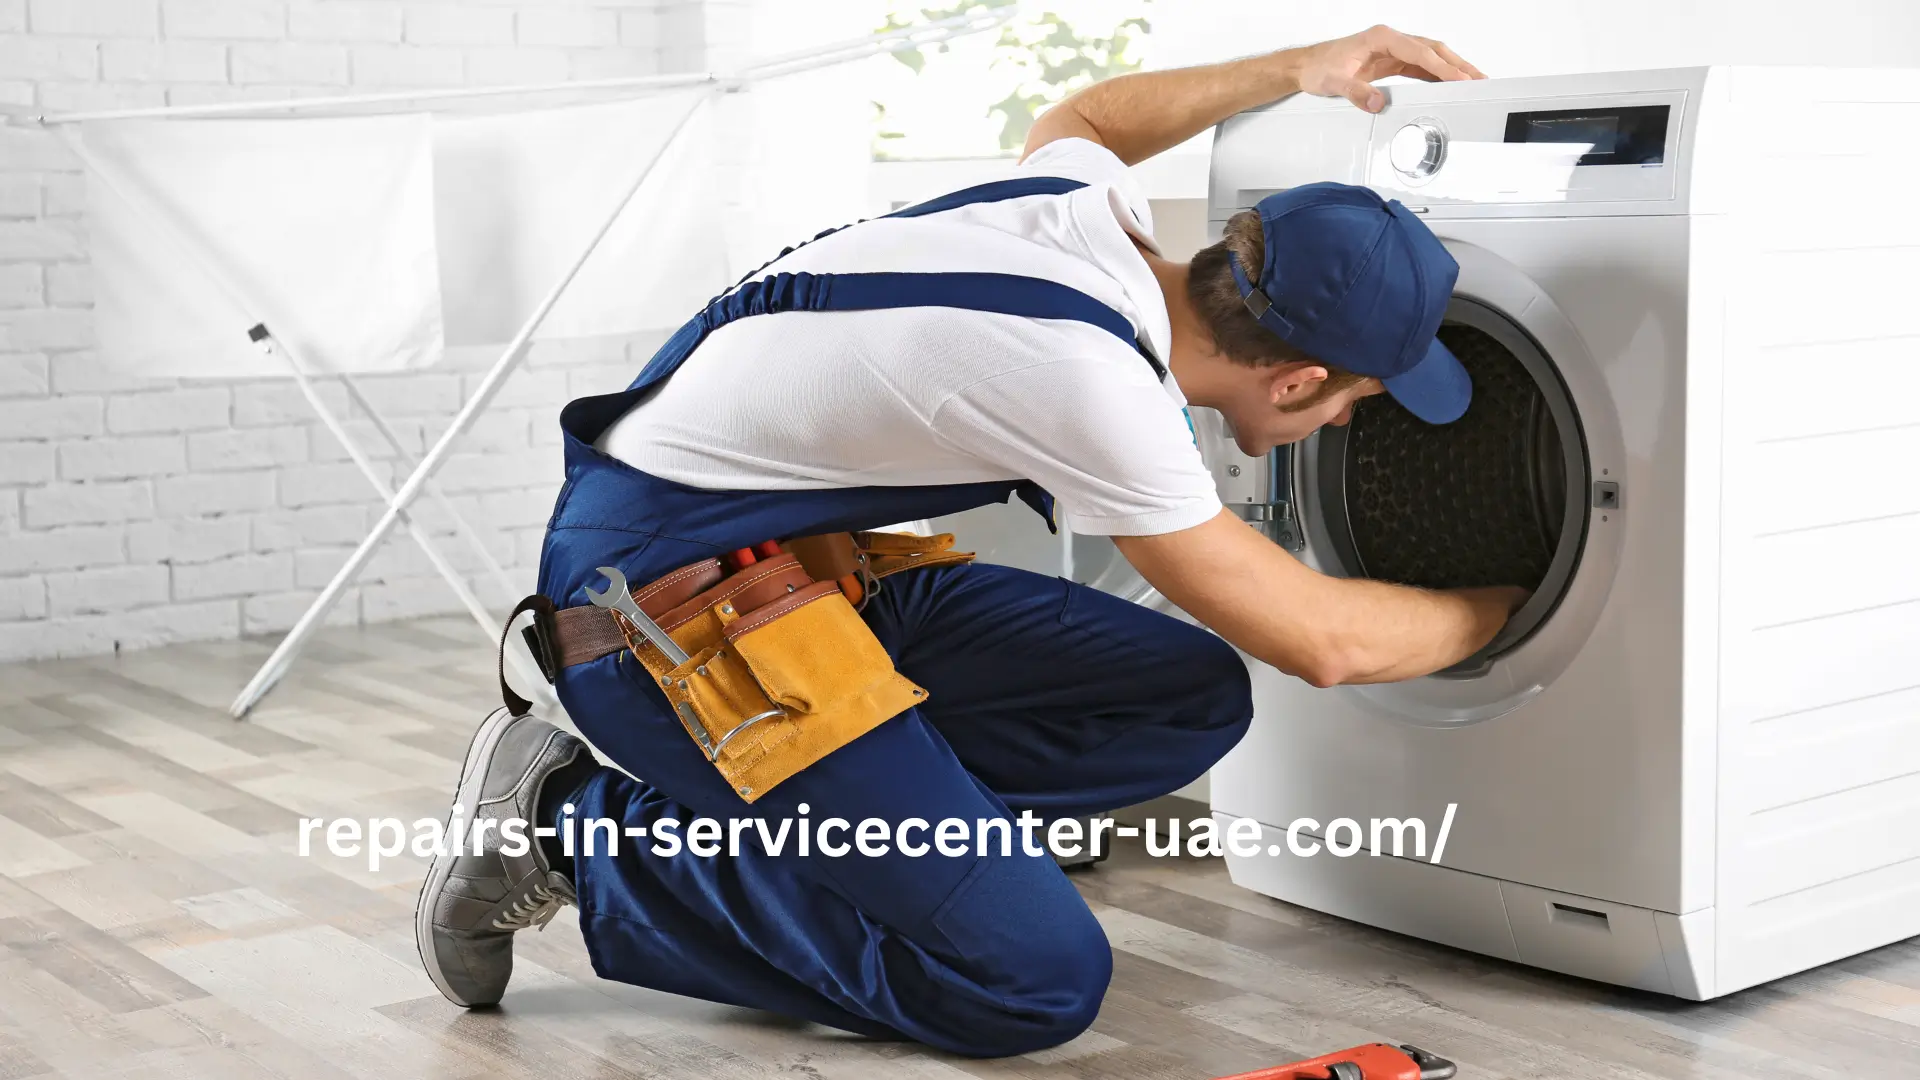
How to Fix a Noisy Washing Machine
Is your washing machine making more noise than usual? A noisy washing machine can be a real nuisance, disrupting the peace of your home and signaling that something might be wrong. Whether it’s rattling, banging, or vibrating excessively, a noisy washing machine isn’t just annoying—it could be a sign that you need to address an […]
How to Handle Refrigerator Odors

We’ve all been there: you open the fridge door, and a wave of unpleasant odor hits you. It’s one of those household nuisances that can be both embarrassing and frustrating. Luckily, dealing with refrigerator odors doesn’t have to be complicated. In this guide, we’ll walk you through simple and effective steps to eliminate those pesky […]
How to Replace a Dishwasher Spray Arm: A Step-by-Step Guide
Dishwashers are a staple in many homes, making the chore of cleaning dishes much easier. However, like any appliance, parts can wear out over time. One common issue is a malfunctioning dishwasher spray arm. If your dishwasher isn’t cleaning dishes as it should, the spray arm might be the culprit. Replacing a dishwasher spray arm […]