DIY Guide to Cleaning Your Dryer Vent: Save Energy and Stay Safe
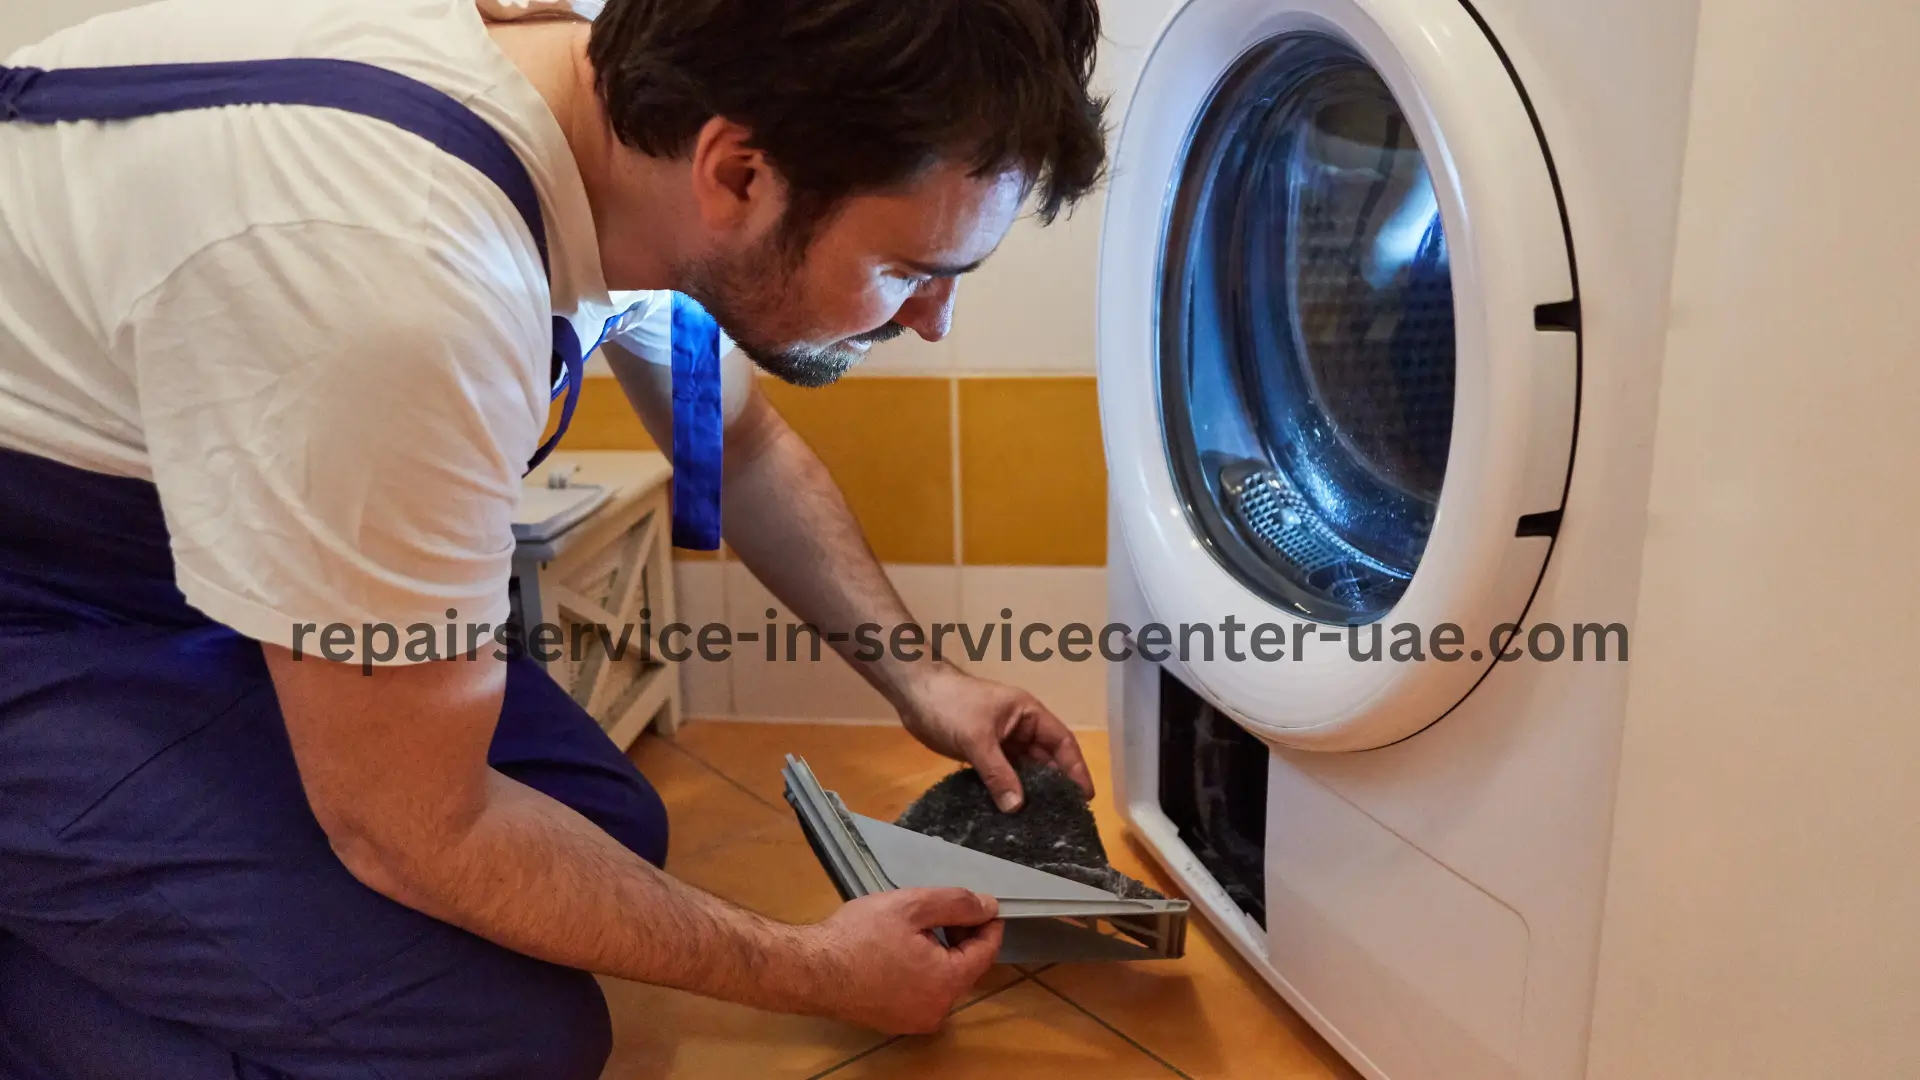
Is your dryer not working as efficiently as it used to? You may be dealing with a clogged dryer vent. Cleaning your dryer vent regularly isn’t just a good practice—it can save you money on energy bills and prevent serious hazards like fires. If you’ve never cleaned your dryer vent before, don’t worry! This comprehensive […]
Step-by-Step Guide to Replacing a Washing Machine Belt

If your washing machine suddenly stops spinning, and you’ve already checked for clogs or drainage issues, chances are the washing machine belt might be worn out or broken. Luckily, replacing a washing machine belt isn’t as complicated as it may sound! Whether you have a front-loader or a top-loader, this comprehensive guide will walk you […]
Top Signs Your Refrigerator Needs Repair

Your refrigerator is one of the most essential appliances in your home. It quietly works around the clock, preserving your food, keeping drinks cold, and ensuring your perishable items last as long as possible. But like any appliance, your fridge isn’t immune to wear and tear. Over time, small problems can turn into major issues […]
How to Diagnose Common Dishwasher Problems: A Step-by-Step Guide

Dishwashers are a major convenience in modern kitchens, saving time and effort. But what happens when they stop working properly? You don’t have to be a professional technician to identify common dishwasher problems. Understanding the issues can save you a lot of money and stress. This blog will guide you through the most common problems […]
How to Diagnose Common Dryer Problems
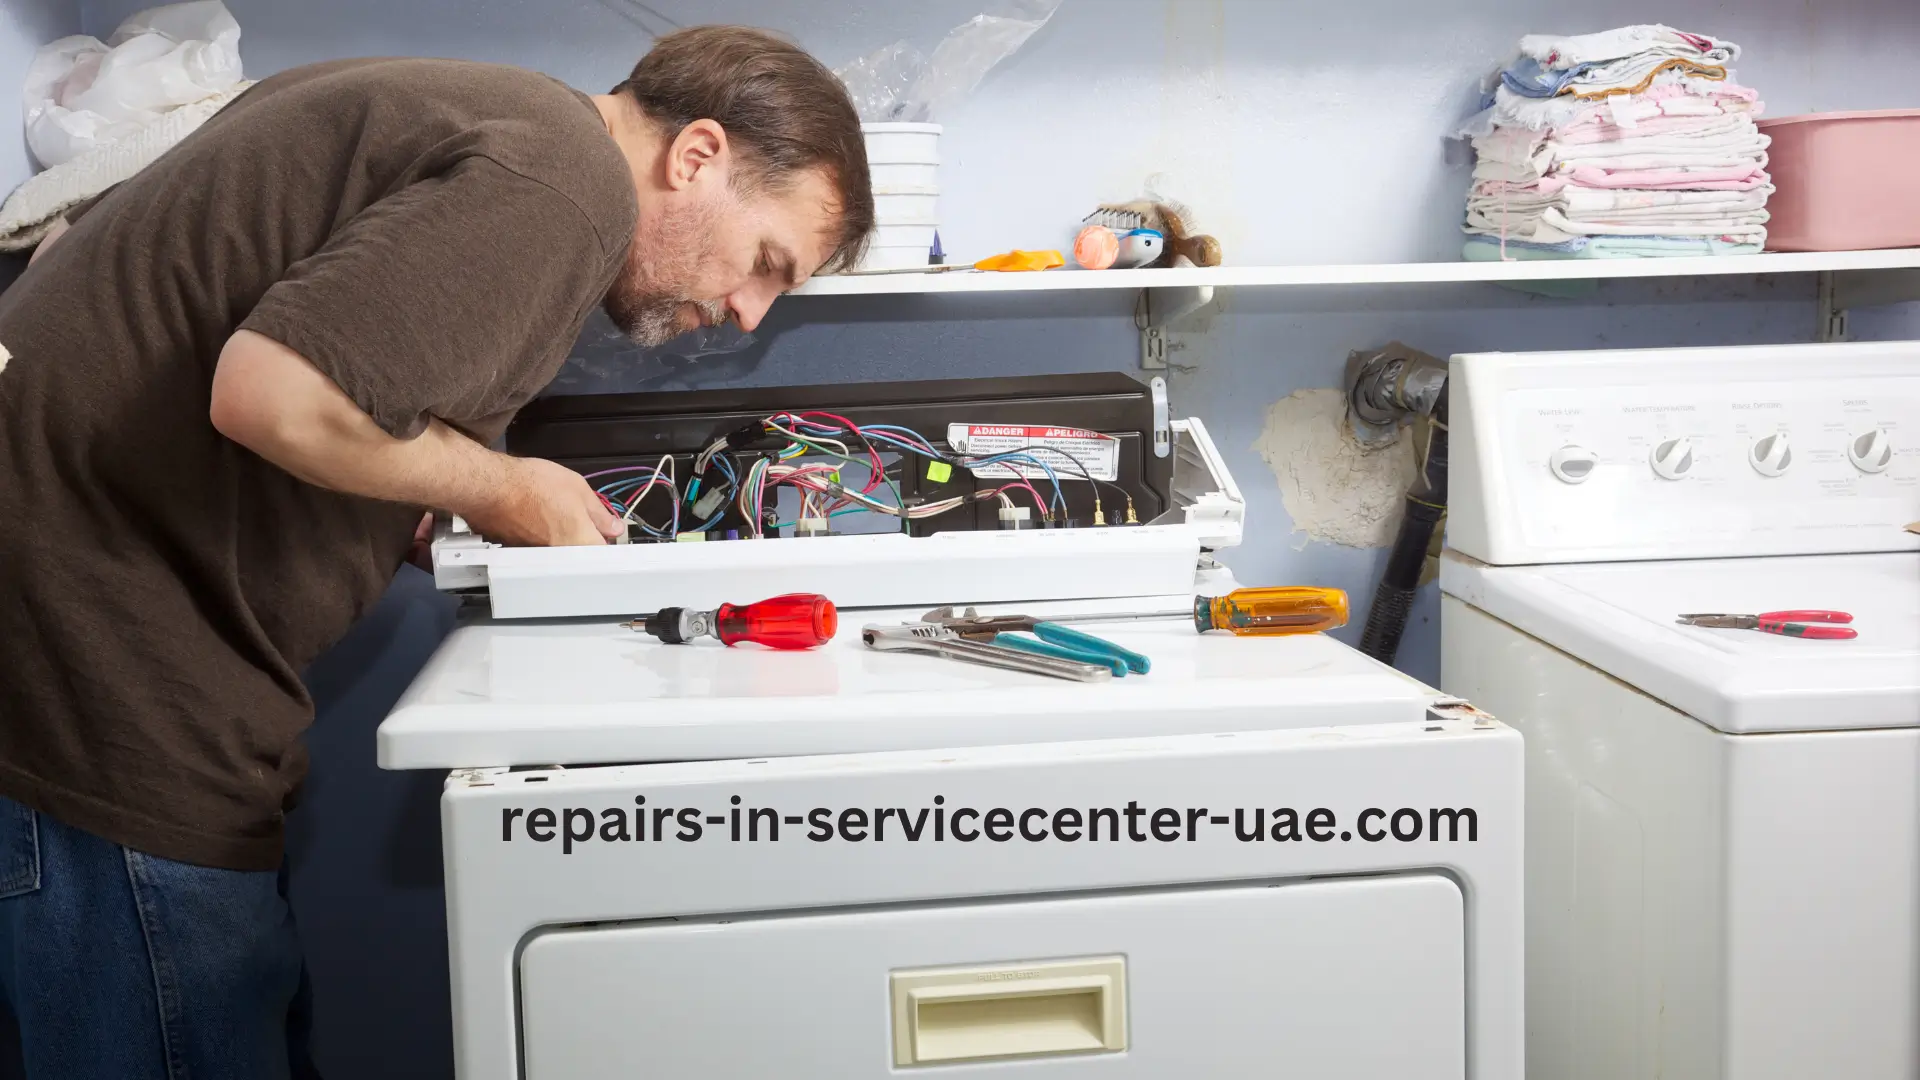
When your dryer suddenly stops working, it can feel like your whole laundry schedule has been thrown off balance. Dryer problems can arise unexpectedly, leaving you with damp clothes, a noisy machine, or a frustrating breakdown. While you might think a professional is required for every issue, the truth is many dryer problems are surprisingly […]
How to Replace a Faulty Dishwasher Motor

If you’ve noticed your dishwasher isn’t cleaning as efficiently, or it makes strange noises, you might be dealing with a faulty dishwasher motor. In this guide, we’ll walk you through how to diagnose, remove, and replace that motor to get your dishwasher back in working order. Replacing a faulty dishwasher motor might sound intimidating, but […]
Common Causes of Refrigerator Freezing Up and How to Fix Them

A refrigerator freezing up is one of those household annoyances that can sneak up on you, leaving your food frosty or covered in ice when you least expect it. It’s essential to understand the possible reasons for this issue and how to resolve it, because who wants rock-solid vegetables or milk turned into an ice […]
How to Replace a Dishwasher Heating Element: A Step-by-Step Guide
Is your dishwasher not heating the water properly? It could be a sign that your dishwasher heating element has malfunctioned. Replacing a dishwasher heating element might seem daunting at first, but with the right steps and guidance, you can handle it like a pro. In this guide, we’ll walk you through the process of replacing […]
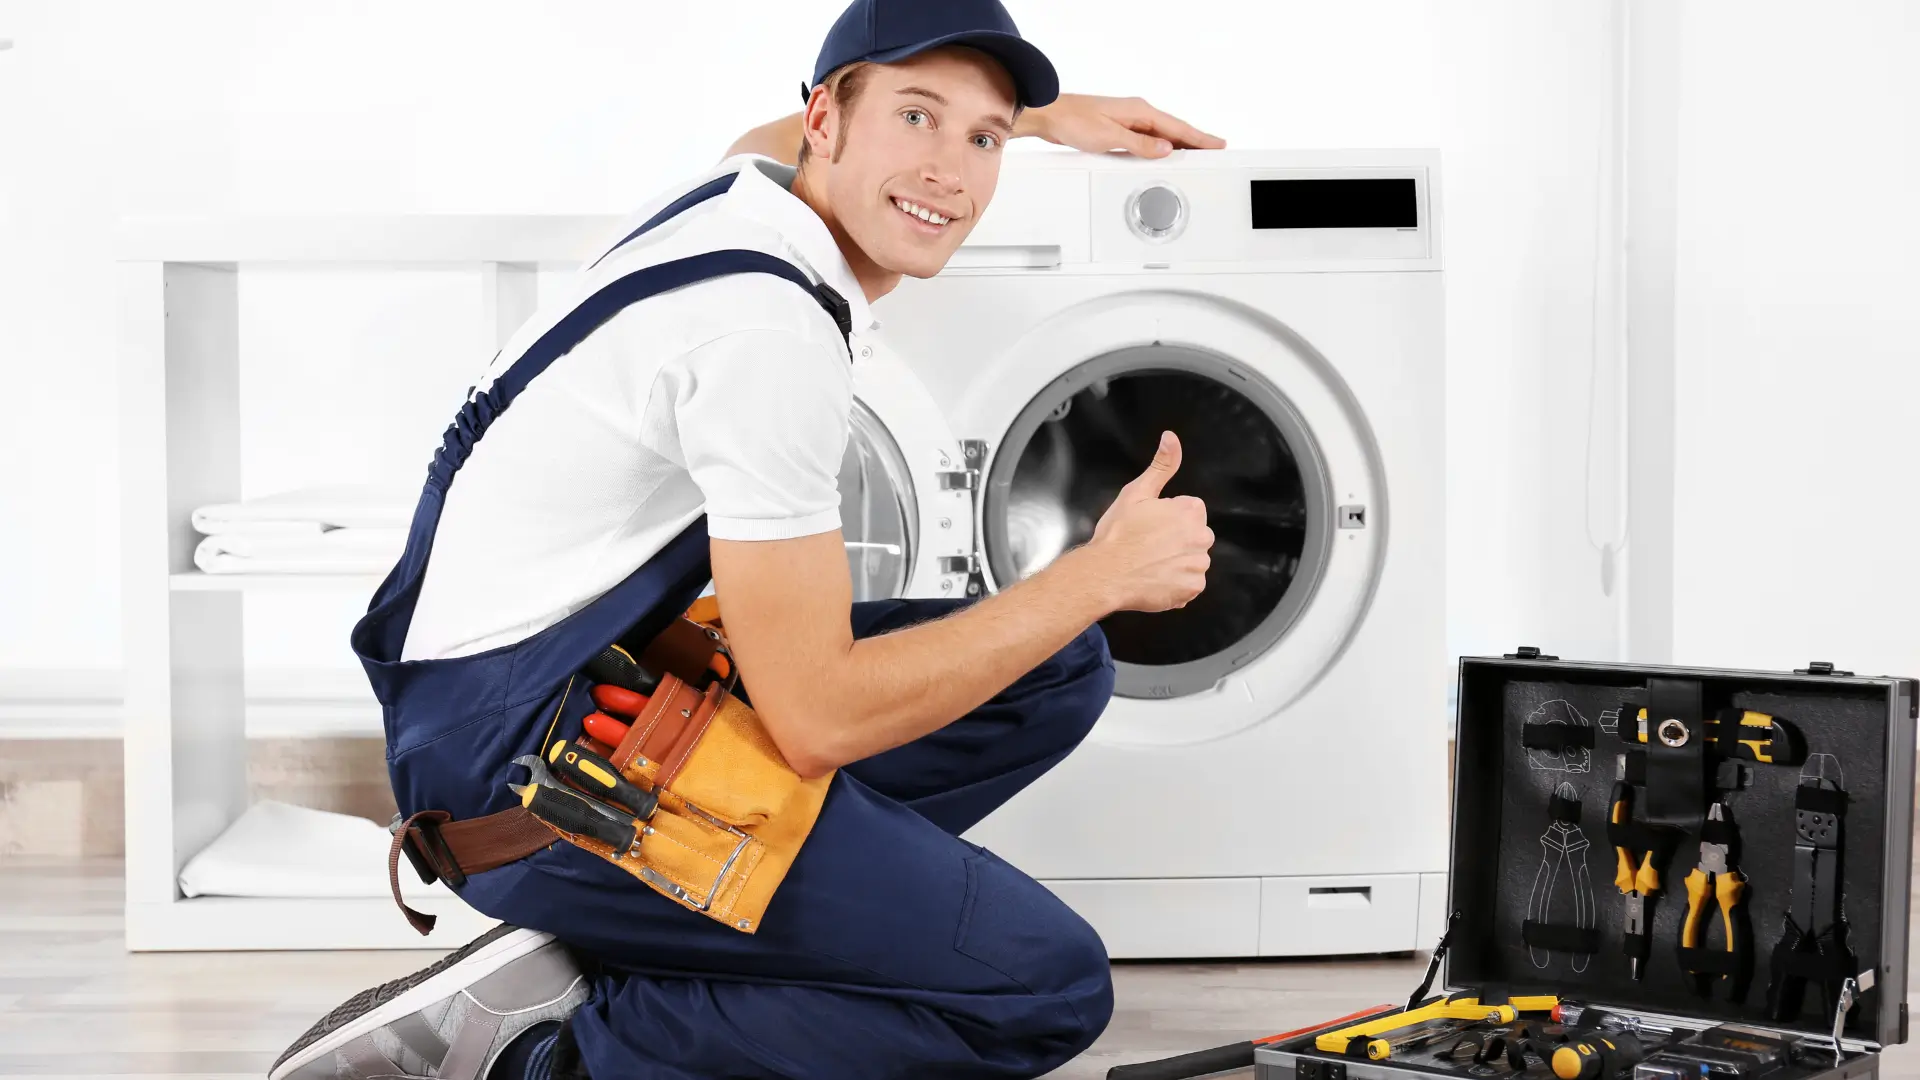
How to Fix a Dryer That Won’t Spin: A Complete Guide
Dryers are one of the most essential appliances in any household, helping you get laundry done in no time. But what happens when your dryer that won’t spin? You toss in a load, hit start, and… nothing. If your dryer isn’t working as expected, don’t worry. This guide will walk you through how to fix […]
Troubleshooting Washing Machine Smells: Your Go-To Guide
Washing machines are essential for keeping our clothes fresh and clean. But what happens when your washer becomes the source of unpleasant odors? Dealing with washing machine smells is a common issue that can make your laundry routine less pleasant. Fortunately, understanding the root causes of washing machine smells and knowing how to troubleshoot them […]
How to Repair a Refrigerator Water Dispenser: A Step-by-Step Guide
Having trouble with your refrigerator water dispenser? You’re not alone! Many people face issues with this appliance feature. Whether your refrigerator water dispenser isn’t dispensing water, or it’s leaking, knowing how to repair it can save you both time and money. In this blog post, we’ll walk you through the common problems, the tools you’ll […]
How to Replace Washing Machine Hoses: A Step-by-Step Guide
Washing machine hoses are essential parts of your laundry system, yet many homeowners overlook their maintenance until it’s too late. Worn-out or old hoses can lead to leaks, water damage, and expensive repairs. Replacing washing machine hoses before they fail is a smart move, saving you from potential headaches. In this guide, we’ll show you […]